- Paytm
- delete bank account
- find qr code
- earn cashback paytm
- login paytm forgot
- pay bwssb paytm
- pay bsnl landline
- pay upi payment
- recharge axis paytm
- recharge jiofi with paytm
- recharge tv paytm
- pay water bill
- refer friend paytm
- pay lic premium
- pay money paytm
- refund money google play
- refund money paytm
- book tatkal train
- buy fastag paytm
- buy paytm gold
- make paytm account
- pay using upi
- pay through credit
- recharge airtel fastag
- recharge fastag paytm
- check paytm coupons
- create paytm business
- call paytm mall
- buy truecaller premium
- pay act fibernet
- pay cesc bill
- pay lic paytm
- pay property tax
- buy google play gift card
- buy amazon voucher
- download paytm qr code
- download paytm invoice
- enable fingerprint paytm
- find movie ticket
- online payment through
- download paytm statement
- generate merchant paytm
- find scratch paytm
- increase paytm merchant
- know paytm balance
- logout paytm devices
- make credit card
- pay icici card
- recharge d2h through
- recharge hdfc fastag
- recharge data pack
- book ipl tickets
- book mumbai metro
- apply paytm swipe
- avail paytm postpaid
- activate paytm first
- see received money
- register paytm mall
- pay uppcl electricity
- pay kesco bill
- pay electricity bill
- pay igl bill
- pay manappuram gold
- pay bharat gas
- know paytm bank
- change merchant name
- check paytm number
- talk with customer
- chat in paytm
- redeem paytm first
- remove payment history
- see payment history
- send qr code
- update paytm app
- add money metrocard
- apply coupon paytm
- buy gift cards
- change paytm phone
- change paytm language
- create merchant id
- use paytm cashback
- pay paytm wallet
- send money paytm
- delete paytm
- install paytm
- money paytm wallet
- delete paytm account
- paytm wallet account
- fastag balance paytm
- upi pin ipaytm
- use paytm wallet money
- get paytm speaker
- find paytm upi id
- add bank account paytm
- bank account paytm
- change paytm upi id
- block someone paytm
- check paytm bank account number
- get loan paytm
- remove saved cards paytm
- activate offer in paytm
- flipkart using paytm
- how to check paytm offers
- received money paytm
- reactivate paytm account
- complain to paytm
- activate paytm postpaid
- play games paytm
- track paytm order
- paytm through email
- recharge paytm fastag
- use paytm postpaid
- deactivate paytm postpaid
- cibil score paytm
- deactivate fastag paytm
- credit card paytm
- paytm merchant account
- automatic payment paytm
- find vpa paytm
- paytm order id
- paytm notifications
- change passcode paytm
- credit money paytm
- delink aadhar paytm
- airtel dth paytm
- food from paytm
- book gas paytm
- how to create fd in paytm
- default paytm money
- paytm scan pay
- paytm shopping voucher
- internet recharge paytm
- paytm scratch card
- bike insurance paytm
- paytm debit card
- card bill paytm
- bhim upi paytm
- paytm first membership
- recharge hotstar paytm
- tdr on paytm
- pnr status paytm
- wishlist in paytm
- bank paytm wallet
- check passbook in paytm
- become paytm merchant
- create paytm link
- claim paytm insurance
- earn money paytm
- paytm bank account
- paytm qr code
- qr code whatsapp
- setup paytm lite
- request paytm bank statement
- complete kyc in paytm
- remove kyc from paytm
- check paytm kyc
- paytm wallet money to paytm bank
- get paytm refund
- paytm qr code shopkeepers
- cancel bus ticket in paytm
- transfer money paytm to phonepe
- paytm for business
- transfer money phonepe to paytm
- pay through qr scan paytm
- check paytm gold balance
- check paytm wallet number
- add credit card in paytm
- add money paytm wallet debit
- landline bill through paytm
- remove paytm contacts
- cancel an order on paytm
- verify email address paytm
- cancel train tickets paytm
- cancel flight ticket paytm
- add debit card in paytm
- check transaction id in paytm
- free recharge in paytm
- cancel movie tickets paytm
- open paytm bank account
- check paytm balance
- verify paytm account for kyc
- book train tickets paytm
- change email paytm
- apply paytm card
- get paytm statement
- remove bank acc. from paytm
- electricity bill receipt paytm
- pay traffic challan paytm
- transfer money bank to paytm
- paytm recharge history
- check bank balance in paytm
- add promo code paytm
- add money paytm wallet
- recharge jio with paytm
- check paytm transaction history
- change password paytm
- create paytm account
- check paytm limit
- create upi pin paytm
- check cashback paytm
- book bus tickets paytm
- transfer money paytm to bank account
- reset paytm password
- transfer money paytm to paytm
- add beneficiary paytm
- share personal qr paytm
- pay institution fees paytm
- verify mobile number paytm
- recharge metro card paytm
- check inbox on paytm
- enable/disable notifications paytm
- pay dth bill paytm app
- log out paytm app
- contact paytm for help
- change profile picture paytm
- change username on paytm app
- security setting paytm app
- book hotel room paytm
- book flight tickets paytm
- helpline number on paytm app
- pay datacard bill paytm app
- pay water bills paytm app
- recharge google play paytm
- update mobile number paytm
- invite on paytm app
- choose language paytm
- book movie tickets paytm
- recharge mobile paytm
- pay credit card bill paytm
- pay electricity bill paytm
- how to recharge paytm
How to Register on Paytm for Business
Everyone nowadays is using the Paytm application for payments. It's a safe and secure way to receive and give payments. With the introduction of the Paytm for Business, it becomes easier for the merchants to use the application. Any shop owner can register to Paytm for Business and receive cashless payments. Follow the step by step guide to register your business to Paytm for Business.
Create Paytm Business Account
Steps to register to Paytm for Business:
1. Open the Play Store: First of all, you will need to open the Play Store on your Android device. You will see a Play icon with different colors on it. Just tap on it to launch the Play Store application. 
2. Tap Search Bar: To search for any application, first of all, you will need to search the application name on the search bar given at the top of the play store page. You can also tap on the microphone logo at the right side of the box and speak the name of the application. 
3. Type the Name of the application: Now in the box enter the name of the application which we want to download in this case it's Bussiness with paytm. 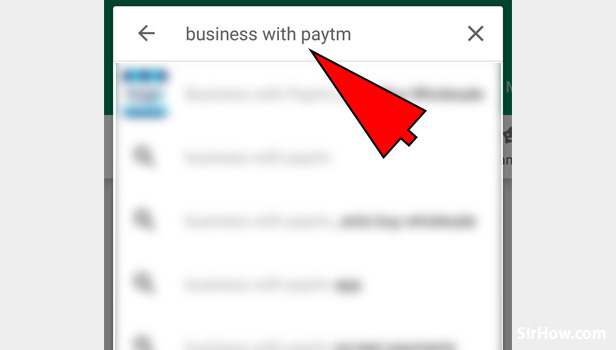
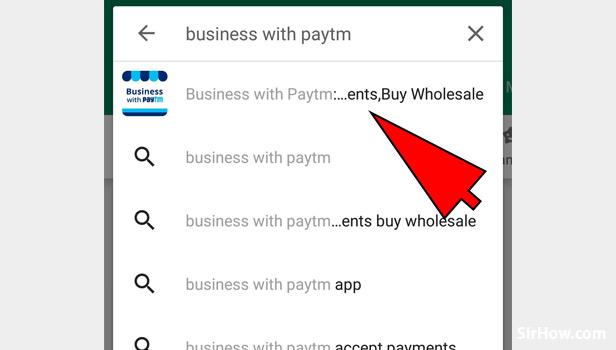
4. Tap on the first option: After you have entered the name of the application you will see a number of suggestions just below the box. You can tap on the first suggestion as it will be the most relevant suggestion.
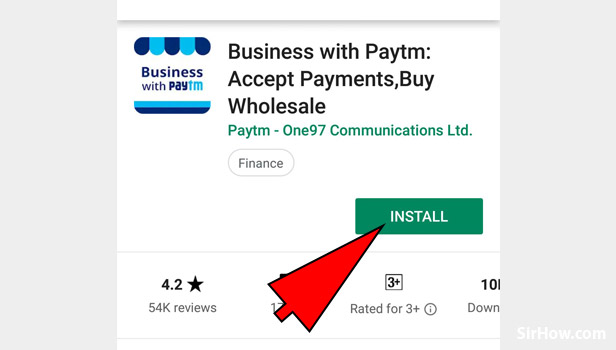
5. Tap on Install: You will see a green button with INSTALL written on it. Tap on it to install the business with paytm application.
6. Open the Bussiness with Paytm application: After your application is installed on your Android Device. You will see its icon on your home screen. It will have a white icon with Bussiness with Paytm written on it. Just tap on it to open the application. 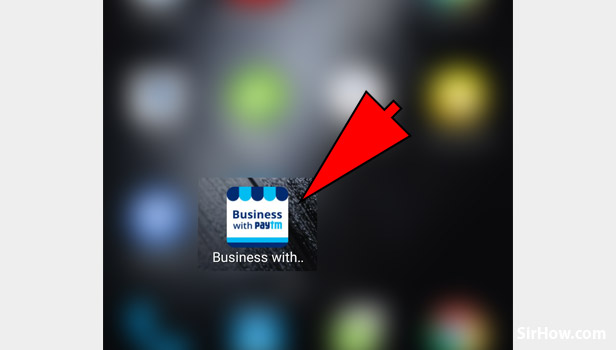
7. Choose your Language: Paytm gives you a wide range of option of languages in which you can operate the application. You can choose from the given options. There are many options like English, Hindi, Tamil, etc.
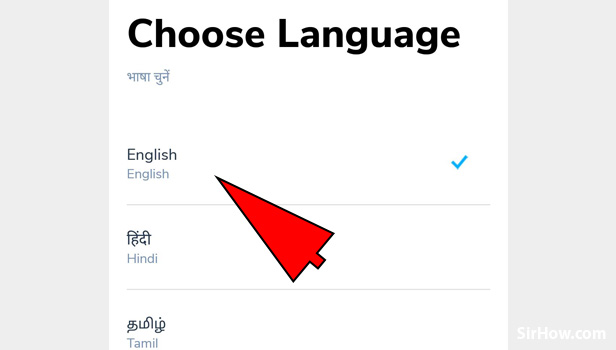
8. Tap on Continue: Now after you have chosen the language in which you want to operate the paytm application. You can tap on the Continue option at the bottom of the page. 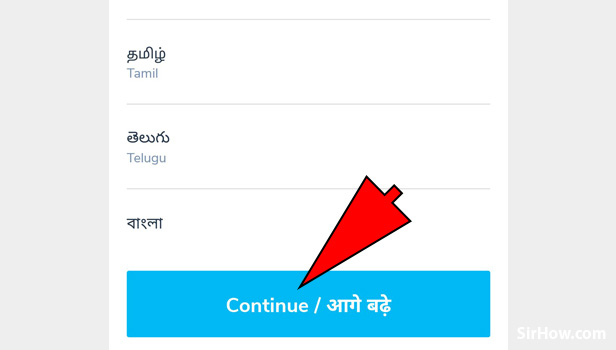
9. Tap on Get Started: You will finally land to the Get started page. Just tap on the Get Started option at the bottom of the page.
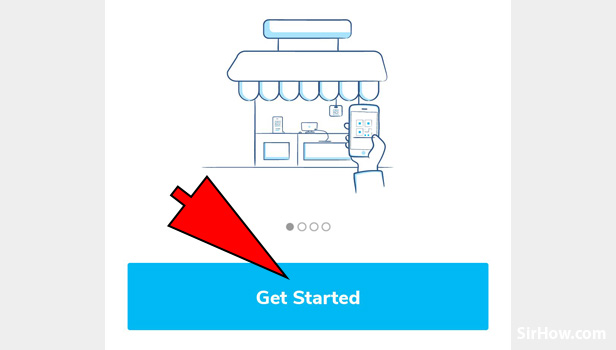
10. Enter your Mobile Number or Email Address: In the box given you will need to enter the Mobile number or the email address from which you wish to operate the business account. 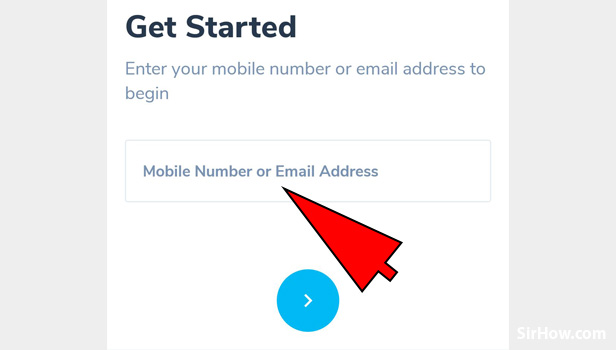
11. Tap on the Continue Button: After you have entered the mobile number or the email address and ensured that they are entered correctly. You can tap on the continue button present at the bottom of the page. It will be a blue logo with a forward arrow mark ">". Just tap on it to continue. 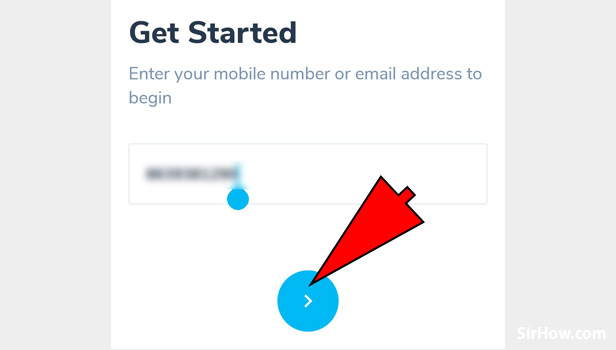
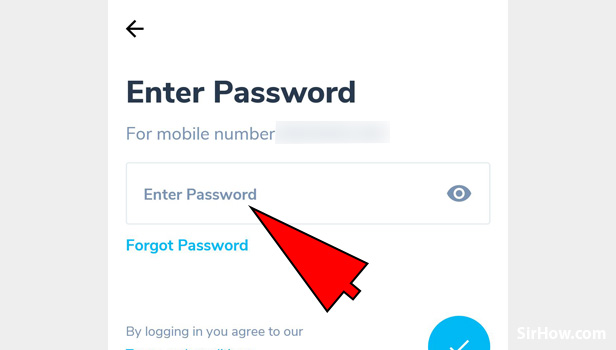
12. Enter Password: Now make sure you enter a strong password as this app will have your money of the business you are registering. Use all the characters and make them strong. Enter your password in the box given. You can also see your password by tapping on the eye logo at the right side of the Enter Password box.
13. Tap on tick mark: Now to continue with the password you will need to tap on the Tick mark. It will be present at the bottom right corner of the page. Just tap on it continue. 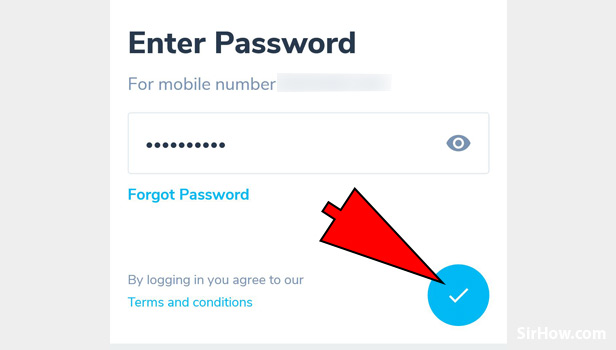
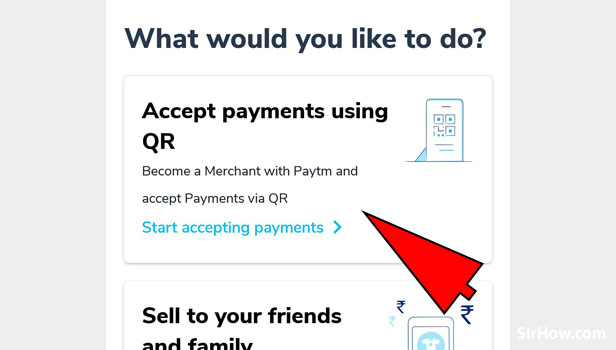
14. Tap on Accept payments Using QR: You can put up a QR code in your shop or any business that you run and the customer can scan and pay to you. To use this feature just tap on the Accept payments using QR option.
15. Enter your PAN Number: Now you will need to add some accounting details of your business. First of all, enter your Pan Number in the box given. 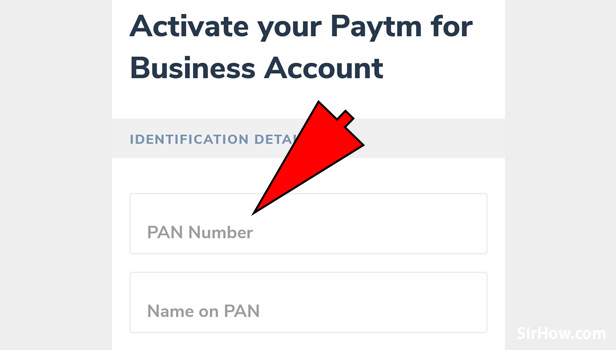
16. Enter the name of PAN holder: Now you will need to add the name of the person or the business to whom the PAN belongs. Make sure you enter these details correctly if not paytm may throw an error. 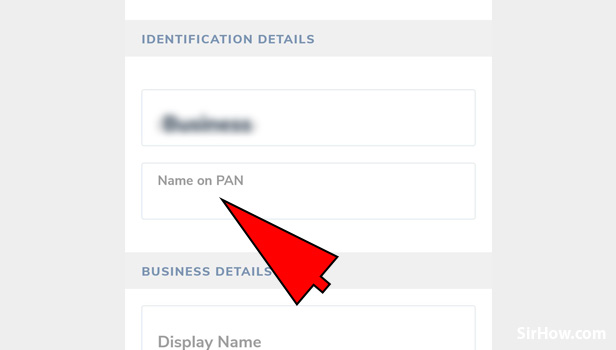
17. Enter the Display Name: Enter the name you want the users to see while they pay to you using the QR code.
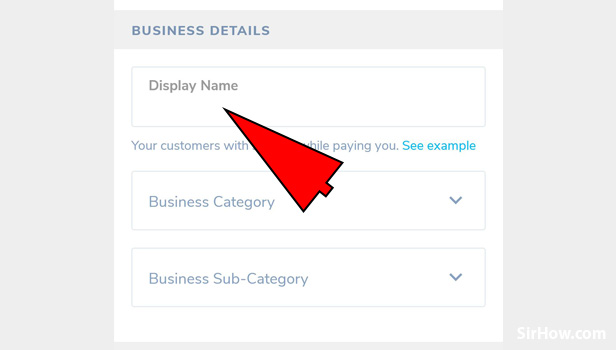
18. Enter your Bussiness Category: Tap on the business category box to get the suggestions of the business categories that paytm has classified. 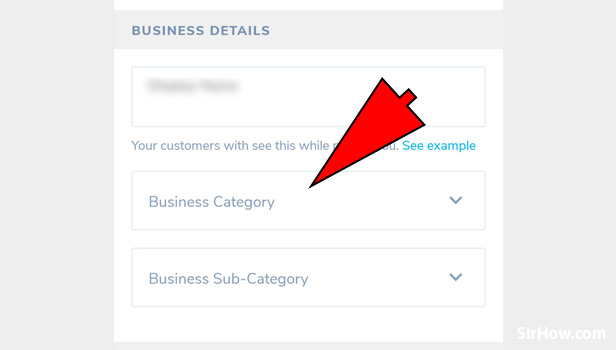
19. Choose from the List: You will get a list of different Categories. Choose the most appropriate category for your business. Just tap on the category to choose the particular category. 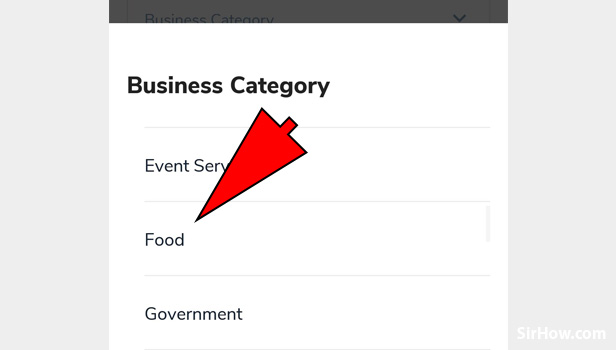
20. Choose the Bussiness Sub-Category: Now you will need to choose the sub-category for your business for that just tap on the Business Sub-Category Box. 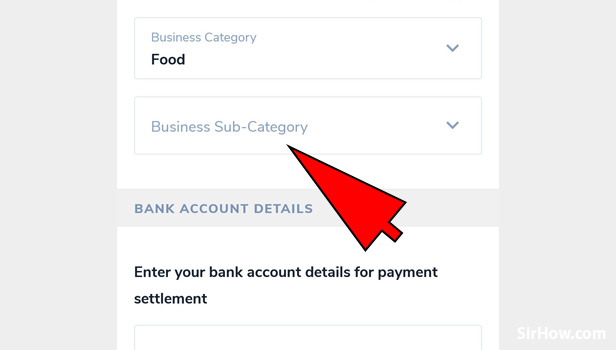
21. Choose the Sub-Category from the options: From the list of options choose the most appropriate option. For example, in this case, we will choose the bakery option. Just tap on the option to select the Sub-Category.
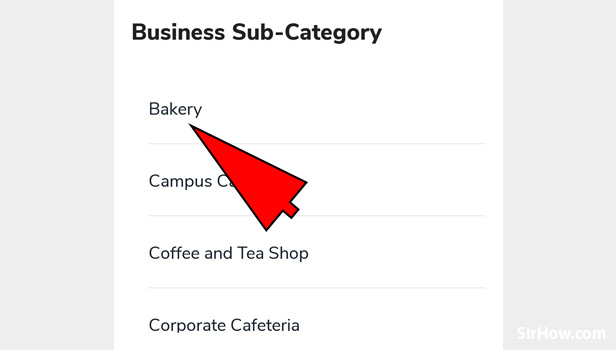
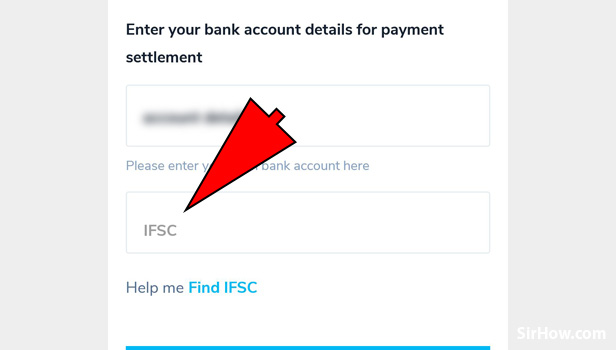
22. Enter the Bank Account Number: In this step, you will need to enter your bank account details for payment settlement i.e transferring the paytm amount to your bank account. To begin with, enter your Bank Account Number in the box given. 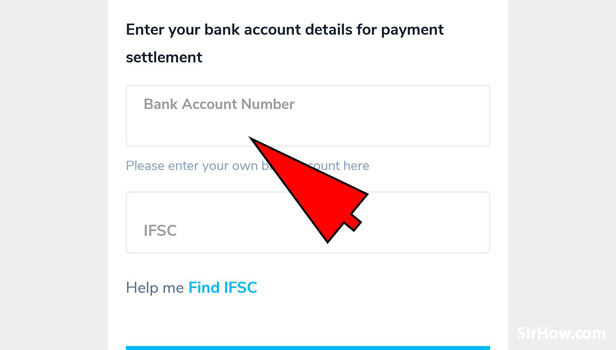
23. Enter your IFSC code: You will also need to enter your IFSC code in order to link your bank account to the paytm application. Make sure you enter it correctly or else it will create a problem in verification.
24. Tap on the Sign up To accept Payments: Now after you have entered each and every detail carefully. You can finally tap on the Sign up to accept Payments options button present at the bottom of the page.
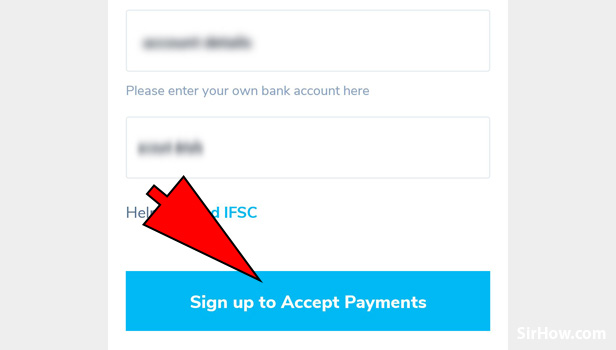
Therefore, you have successfully registered yourself to accept payments using the QR code. You can print and put up the QR code on your shop or whatever business you are operating.
Related Article
- How to Find Scratch Card in Paytm
- How to Increase Paytm Merchant Account Limit
- How to Know Paytm Balance
- How to Logout Paytm From All Devices
- How to Make Credit Card Payment through Paytm Wallet
- How to Pay ICICI Card Bill Using Paytm
- How to Recharge d2h through Paytm
- How to Recharge HDFC Fastag from Paytm
- How to Recharge Data Pack from Paytm
- How to Book IPL Tickets in Paytm
- More Articles...
