How to Create a Folder in Google Classroom
Create a Folder in Google Classroom in 7 Steps
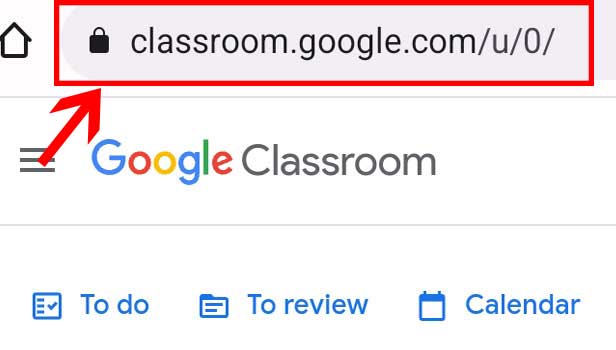
Step-1 Open website:
The first step is to open the website.
- Here you need to grab your mobile phone. Then go to any search engine browser on it.
- The next step is to search the website given below.
- Copy this link and paste it into the browser.
Step-2 Open Class: Once you have the homepage of the classroom app on the screen.
- Then here you need to open any class on the screen.
- Learn here how to join the google classroom.

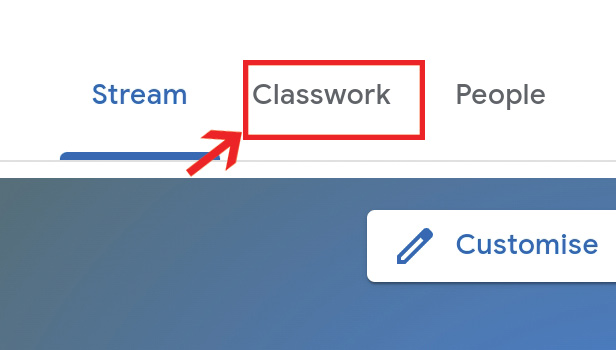
Step-3 Co to "Classwork": After opening the class you want to use, click on Classwork.
- The classwork tab is present in the top middle part of the page.
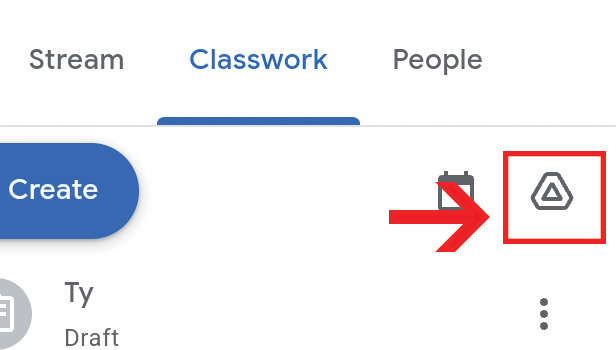
Step-4 Click on Drive: After you select the Classwork option.
Click on the class drive folder option. It looks like a drive icon. It is beside the calendar icon.
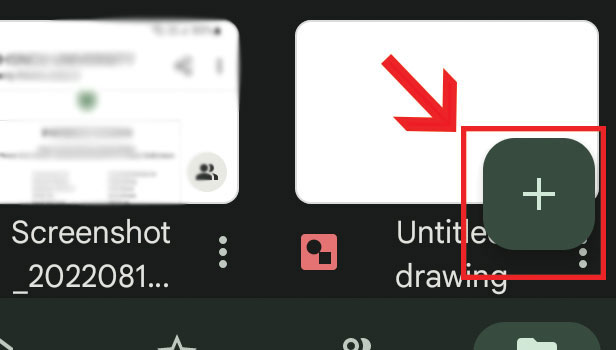
Step-5 Click on "+": After you click on the drive icon, the google drive linked with the account opens.
- Then you have to click on the '+' icon.
- It is generally present at the bottom right corner of the mobile.
- And if you are using a laptop or desktop you will find the '+' option on the upper left corner of the page.
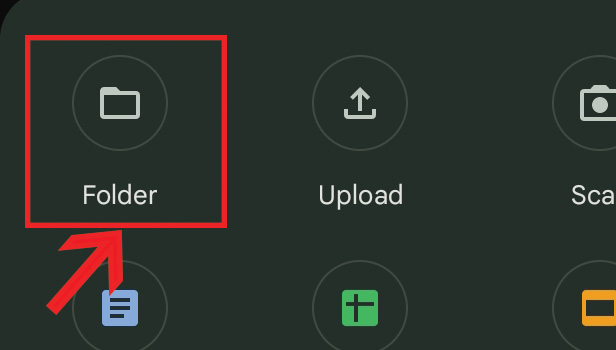
Step-6 Click on Folder: After clicking on the plus icon a list of options comes.
- Click and select the options folder.
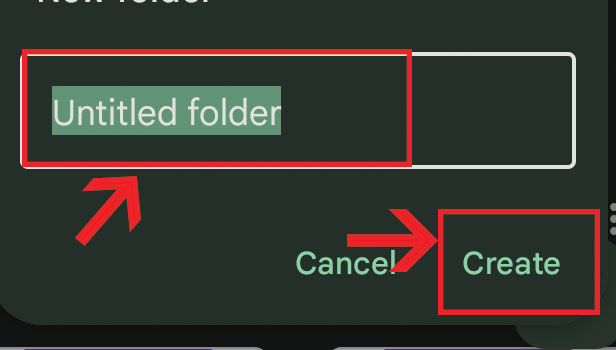
Step-7 Name folder & Click "Create": The next step is, you have to provide a name for the folder.
- As soon as you click on the Folder option, a tab opens where you can type out the name of the folder.
- After naming the folder click on Create option.
Thus, this is how you can create a folder in Google CLassroom.