How to Enable Annotation Tools for Zoom Meetings
Annotation tools make the Zoom meeting more interactive and fun for the participants as well as for the meeting organizer or the host. They help the host to make the meeting more interactive by introducing features like polls, quizzes, and other brainstorming activities for the members. Obviously, they take a little extra amount of the data but they are worth it. You can choose if you want to enable or disable the annotation tools in the Zoom app. So, let's talk about how to enable annotation tools for zoom meetings.
The zoom app also offers various other advanced features and options. One option is to delete the scheduled meetings on Zoom. Search features make the user experience even better. Let's start learning with fun!
Whiteboard in Zoom
Enable Annotation Tools for Zoom Meetings in 7 Steps
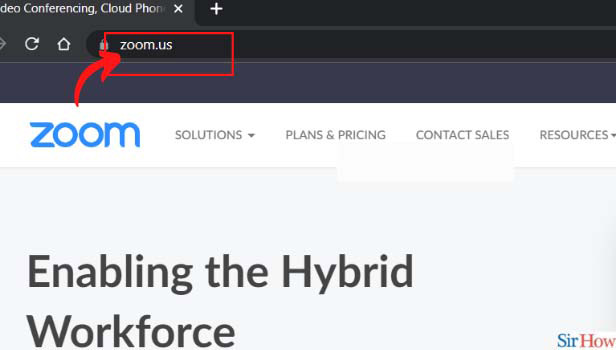
Step-1 Open Zoom Web Portal: you have to first:
- Open the web browser on the device you are using.
- Type 'zoom.us' in the search bar.
- Then, finally, click on Enter.
You will be directed to the Zoom Web portal. You can use both a mobile device and your desktop for opening the zoom web portal.
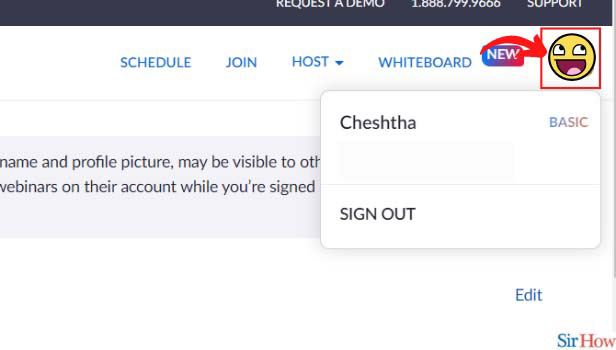
Step-2 Click on your profile photo: On the left-hand side of the screen, you will find your profile photo. It is on the top below beside the Whiteboard option. Click on that option.
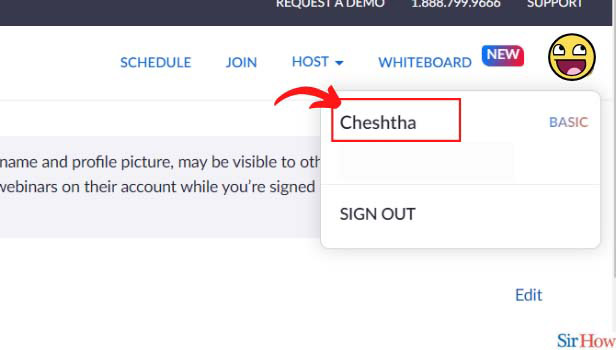
Step-3 Click on your name: Then, simply click on your name. It will take you to the account as well as basic and advanced zoom settings.
Step-4 Choose the 'Settings': Now, you will see a big list with several options. From those options, locate the Settings option. And, click on Settings.
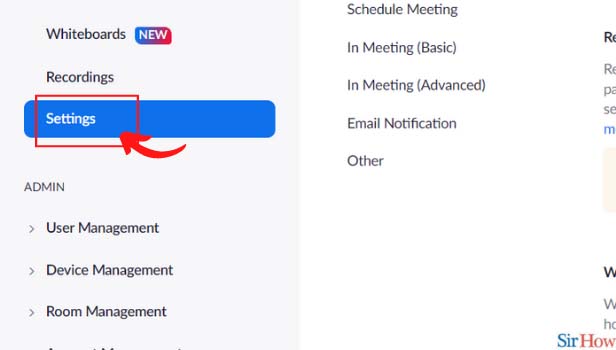
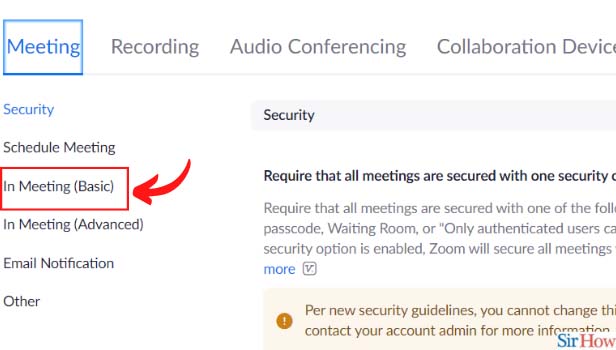
Step-5 Click on 'In Meeting (Basic)': Go to 'Meeting'. And then click on the third option 'In Meeting (Basic)'.
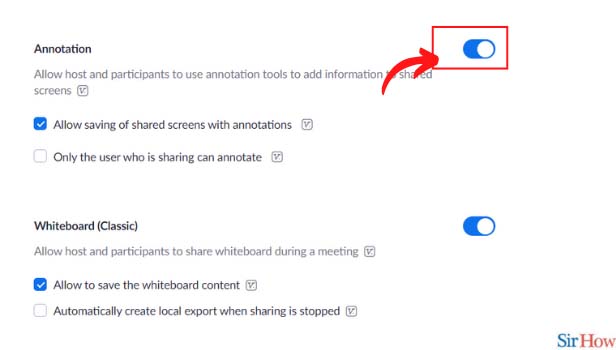
Step-6 Enable the 'Annotation' toggle: Click the toggle that is present beside the 'Annotation' option. It will enable the Annotation option in your Zoom app.
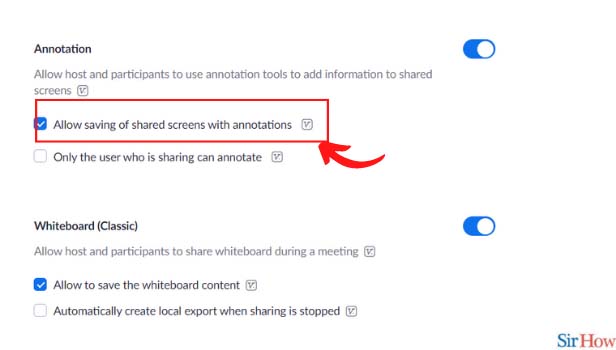
Step-7 Click on the first check-box below 'Annotation': Also, just click the check-box that says 'Allow savings of shared screens with annotations'.
What Are The Different Annotations in The Zoom Meeting App?
The in-meeting is also known as in-meeting features because they come into use while a meeting is going on. Some annotation options are the whiteboard option which allows you to write and draw on the screen, and also the poll option in which the host can start a pole and the members can choose to give their opinions. You can also draw over the share screen with annotations.
What Is The Maximum Time Limit or Time Duration of a Zoom Meeting?
The Zoom app has two plans, the Basic plan, and the Pro plan. In the zoom basic plan, the maximum duration of a single meeting is 40 minutes. After that, the meeting has to be started again. But in the pro plan, there is no maximum limit on the duration of a meeting. The meeting can take place continuously for even a day, that is, 24 hours.
Is It Possible To Turn the Audio in the Zoom App?
Yes, any member of the meeting can choose to turn their audio or video, on or off as per their wish. You can turn off the audio by clicking on the microphone option on your screen. It is similar to the Google meet app. You can also turn off the Google meet audio very easily.