- Windows 11
- change power mode
- pause auto updates
- set up metered
- record screen windows 11
- change your computer’s
- remove 'recommended' section
- enhance audio windows 11
- enable dns over
- disable telemetry windows 11
- check windows version
- schedule auto shutdown on windows 11
- sticky and filter keys on windows 11
- disable animation effects in windows11
- pip mode in windows11
- screen resolution on windows11
- remove sign in pin in windows11
- factory reset in windows11
- disable cortana from windows11
- disable startup sound on windows11
- clear cache automatically in windows 11
- scrollbars in windows 11
- hide taskbar in windows11
- disable find my device in windows11
- disable widgets windows 11
- lock screen clock windows 11
- remove language switcher windows 11
- clear location history windows 11
- find your windows 11 product key
- update drivers windows 11
- disable location access windows 11
- setup voice access windows 11
- check screen time windows 11
- set default browser in windows 11
- show hidden files windows 11
- change date time windows 11
- change screenshot folder windows 11
- enable night light windows 11
- enable/disable camera windows 11
- modify camera privacy windows 11
- custom downloads location windows 11
- increase touchpad sensitivity windows 11
- change downloads location windows 11
- save screenshot as pdf windows 11
- hide cursor windows 11
- find ip address windows 11
- disable mouse acceleration windows 11
- update windows 11
- change location history windows 11
- off speech recognition windows 11
- change pointer speed windows 11
- keep laptop awake windows 11
- disable restartable apps windows 11
- disable game mode windows 11
- switch modes windows 11
- modify refresh rate windows 11
- disable autocorrect windows 11
- reverse touchpad scrolling windows 11
- forget wifi networks windows 11
- disable system notifications windows 11
- change administrator windows 11
- trim video windows 11
- check wifi password windows 11
- check ram on windows 11
- add screen saver windows 11
- change desktop icons windows 11
- check windows 11 is activated
- enable spatial sound windows 11
- stop system sleep windows 11
- set up guest account windows 11
- increase font size windows 11
- rotate screen in windows 11
- keep calculator on top windows 11
- enable & use clipboard history windows 11
- remove teams chat windows 11
- enable & use clr filters windows 11
- chng mouse cursor clr on windows 11
- disable touchpad windows 11
- delete chrome windows 11
- track internet usage windows11
- change colour windows 11
- delete temporary files windows 11
- disable bluetooth windows 11
- pause windows 11 updates
- disable wi fi windows 11
- install games windows 11
- install wps office windows11
- change default browser windows11
- delete apps windows 11
- add new folder windows11
- change sleep mode time
- change taskbar color windows11
- change date and time windows11
- open camera windows 11
- change to dark theme windows11
- delete password windows 11
- change lock screen windows 11
- change font size windows11
- change user account windows11
- change desktop icon size windows11
- change password windows 11
- change wallpaper windows 11
- change language windows 11
- change brightness windows 11
How to Set Up Metered Connection in Windows 11
Author: Sam | Guide:
Windows 11
|
To disable automatic Windows 11 updates is to designate your Wi-Fi or Ethernet connection as metered. Windows 11 does not automatically download updates over metered connections, meaning you can restrict automatic updates on your system this way. Here’s how you do it:
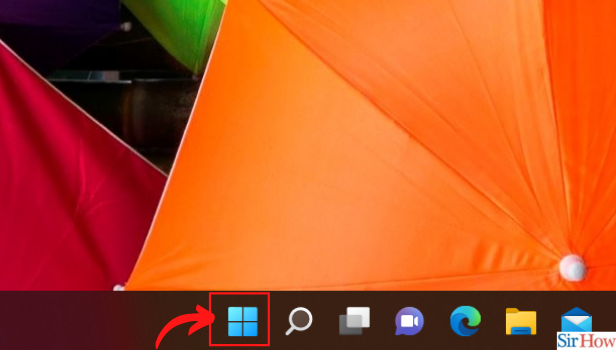
Step 1: Click on ‘Start’ from your desktop screen.
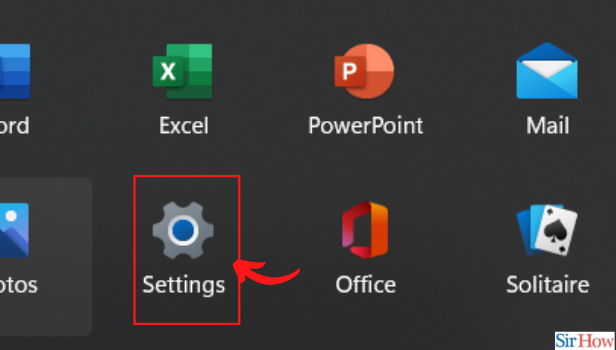
Step 2: Choose ‘Settings’ option or Open the Settings app using the shortcut “Win+I”.
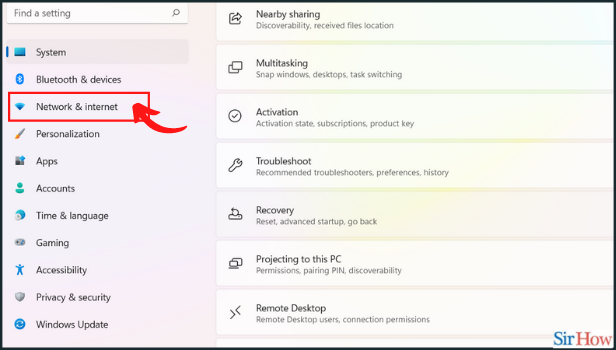
Step 3: Go to the Network and Internet section from the left sidebar.
Step 4: You will now see the network (Wi-Fi or Ethernet) your PC is connected to. Click on “Properties” for your current connection.
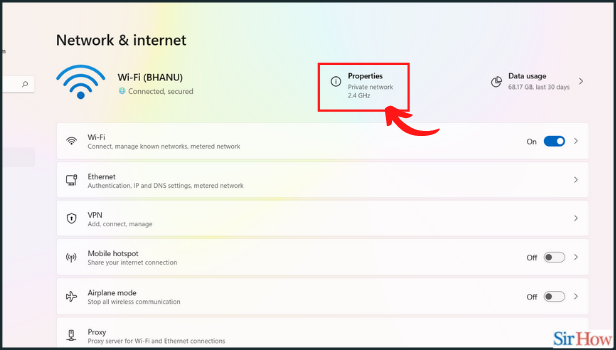
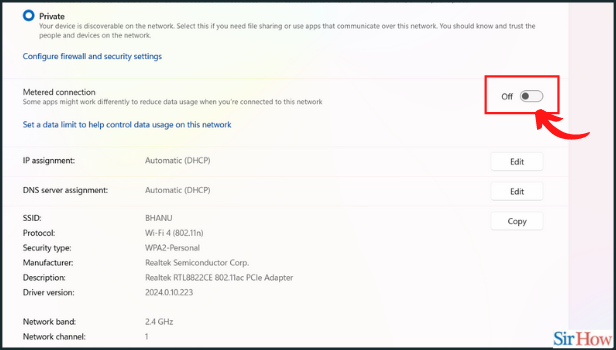
Step 5: On the next page, switch on the “Metered connection” toggle.
Related Article
- How to Remove Language Switcher From Windows 11
- How to clear location history in Windows 11
- How to Find Your Windows 11 Product Key
- How to update drivers on Windows 11
- How to Disable Location Access in Windows 11
- How to setup voice access in windows 11
- How to check screen on time in Windows 11
- How to set default browser in Windows 11
- How to show hidden files and folders in Windows 11
- How to change date and time in Windows 11
- More Articles...