How to Record Screen on Windows 11
While Windows 11, or Windows 10 for that matter, does not come with a built-in screen recorder, there is the Xbox Game Bar that lets you record the screen with ease. It’s meant to record gaming sessions, but you can use it to record other windows as well. The only con is that it does not record the screen when File Explorer is open, or you are on the Desktop, which is a bummer. But the best part is the performance. Just by using a keyboard shortcut, you can start the screen recording. No need to wait for encoding the video! With that said, let’s see how this method works:
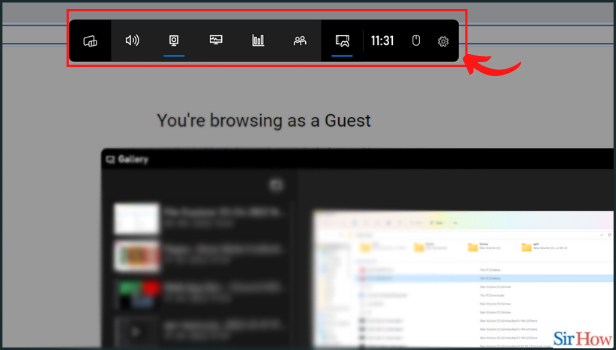
Step 1: First, make sure you are not on the Desktop. Now, open an app and use the Windows 11 keyboard shortcut “Windows + G“. It will open the Xbox Game Bar overlay.
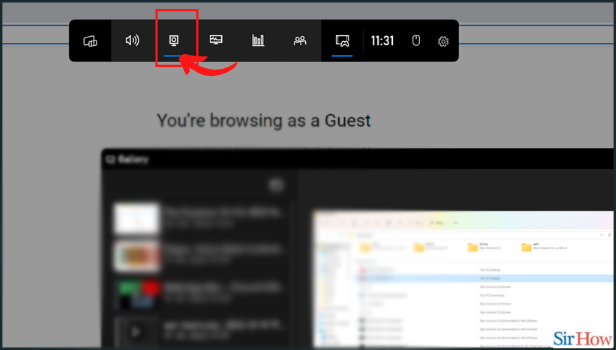
Step 2: Next, move to the “Capture” option from the menu available at the top of the screen.
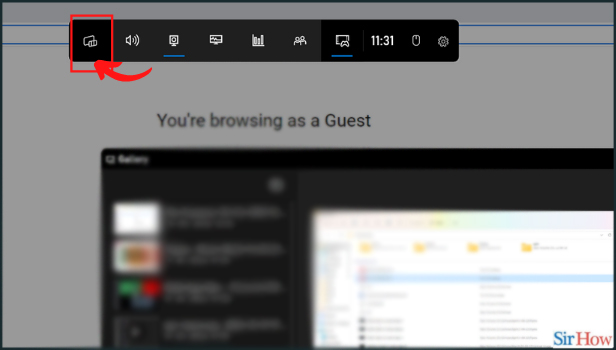
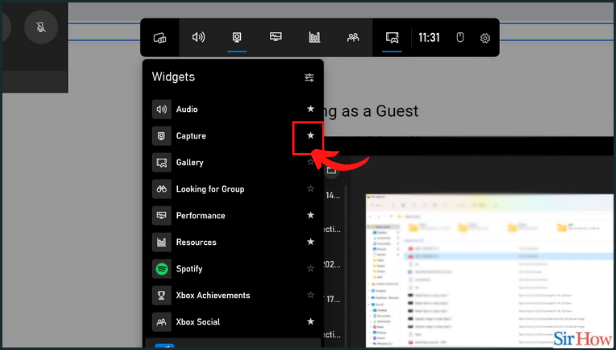
Step 3: If you do not see the “Capture” option, click on the “Widgets” menu
Step 4: And bookmark “Capture” (click the star icon next to Capture).
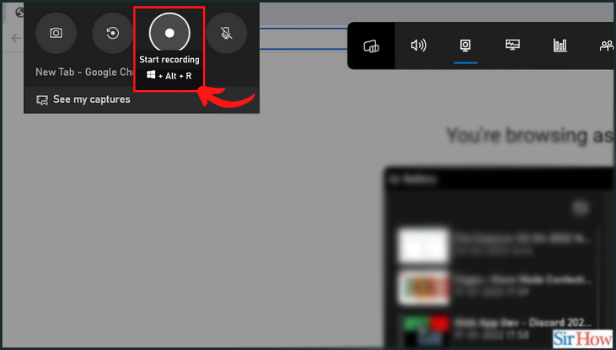
Step 5: A small floating pop-up window will now open up. Here, click the “Start recording” button, and there you go! Windows 11 will start recording your screen instantly. Do make sure to turn on the microphone to record your voice alongwith the desktop audio. Moreover, you can use the “Windows + Alt + R” keyboard shortcut to start recording the screen directly.
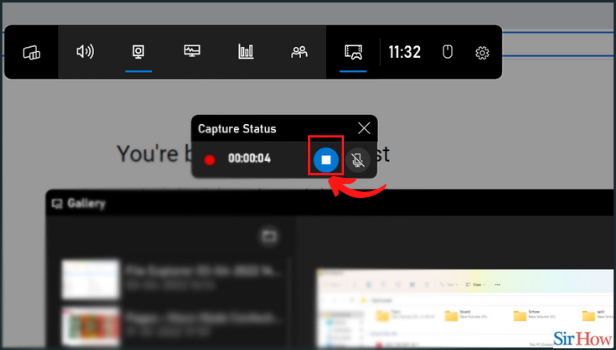
Step 6: To stop the recording, click the “Stop” button in the “Capture Status” floating window. The screen recording will be saved in your profile.