How to Cancel Booked Ola Cab Ride
Have you ever faced a situation where you have booked a cab but then could not travel? In such cases, a user will have to cancel his or her ride for the convenience of both parties. Ola cab booking service offers you the option to cancel any booked Ola cab ride. There are many reasons why you may want to cancel a ride, and Ola offers you this possibility. The procedure to do this is simple. The article explains the steps to cancel booked Ola cab.
How to cancel ola cab booking
Steps to Cancel booked Ola cab
1. Launch Ola application: The first step is to launch the Ola application from your phone's app drawer. Locate the Icon as shown in the picture below. When you find the Icon from amongst the apps, tap on it once to open the Ola application. 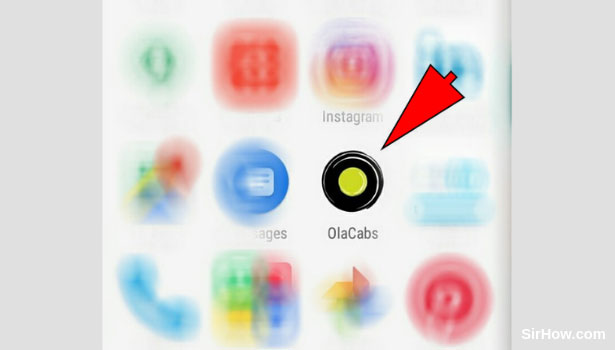
2. Provide location access: Once you tap on the Ola icon to open the app, you will get the following screen. This will include a popup message asking for permission to use the device's location. It is important that you do provide access to your device's location in order to enable the app to work properly. Tap on the OK option as indicated by the arrow mark below, to provide location access. 
3. Tap on Pick up location option: After you provide access to your device's location, the application will open as shown in the picture below. You will notice the option to enter Pick up location as indicated by the arrow mark. This represents where you want to be picked up from. Tap on this option once to open the Pickup location option. 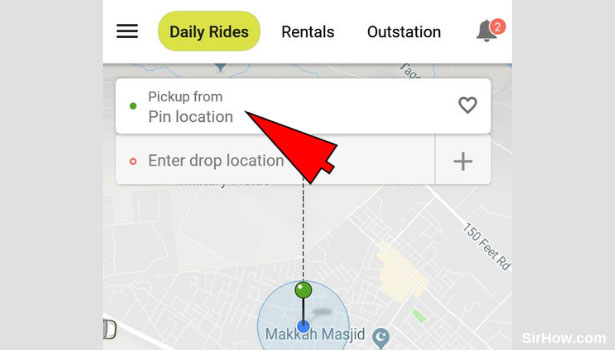
4. Enter Pick up Location: As a result of tapping on the pickup location option, you will be switched over to the following screen. You will find a search bar, as indicated by the arrow mark. You can use this search bar to locate your pick up address. Tap on the search bar and enter the address of your current location. Select the most appropriate result from the list that appears. 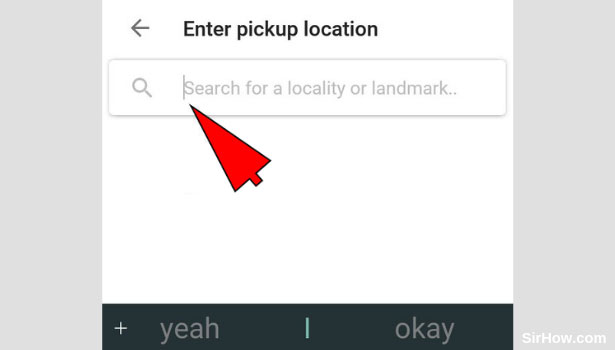
5. Select the Drop location Option: After you have entered the pickup location, you will be brought back to the previous screen as shown in the picture below. You can now go ahead with the drop location. Drop location represents the address of your destination. To enter this, you have to first tap on the drop location option as shown below. 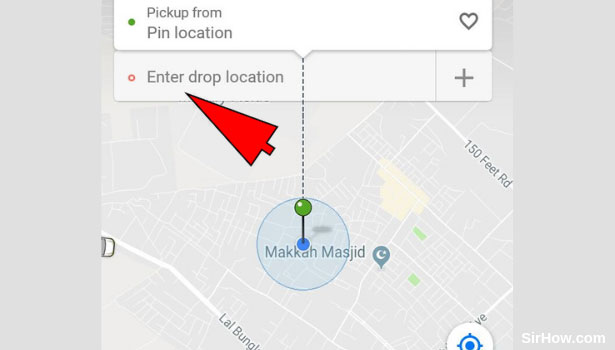
6. Enter the drop location: As a result of tapping on the drop location option, you will be redirected to the following screen as shown in the picture below. You will find a search bar, as indicated by the arrow mark. Tap on the search bar and enter the address of the location you want to be dropped off at. Consequently, a list of related results will appear. Select the most appropriate result. 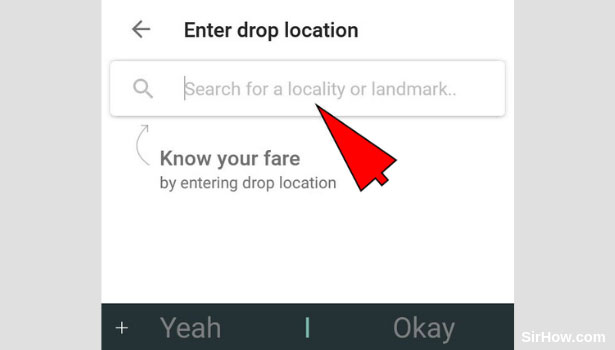
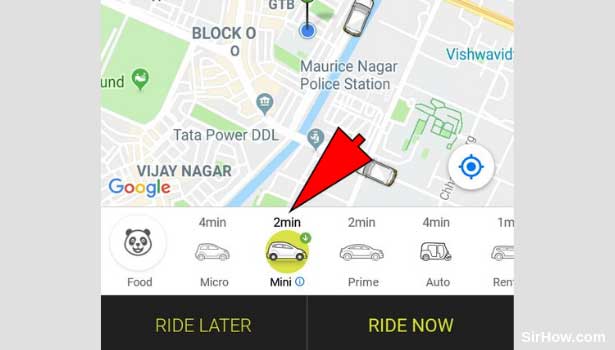
7. Select the Type of cab: After you set the pickup point as well as drop location, you will be shown the following screen. At the bottom of the screen, you will be provided with different options of cabs whether it is Mini, Micro, Prime or any other. Select the type of cab you want by simply tapping on it as shown below.
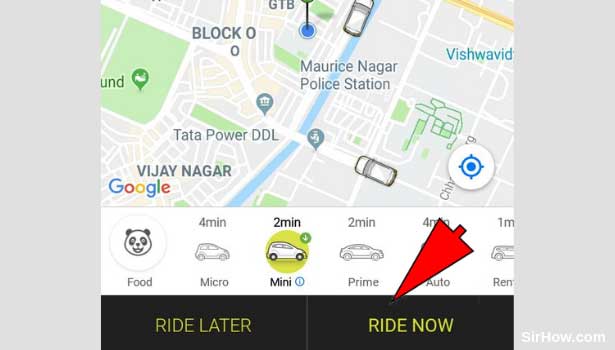
8. Tap on Ride now: Once you select the type of cab, you have to then go ahead with choice when you want the cab. You can either book for immediate travel or schedule for later. Since we are particularly talking about immediate booking, Tap on the Ride Now option as indicated by the arrow mark below.
9. Hit the Skip option: As a result of selecting the Ride Now option, you will be shown the following message. This is a confirmation message asking if the ride you are booking is for you or for someone else. As we are talking only about booking for oneself, Hit the Skip option. 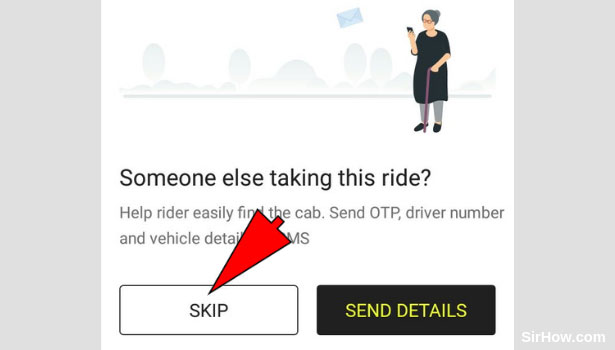
10. Confirm your Booking: After you have carried out all the steps mentioned above, you will be shown the section as shown below. This section includes an overview of your ride. It includes the route, as well as price of your ride. Once you set up the payment method, you can confirm the ride by tapping on the confirm booking option as shown below. 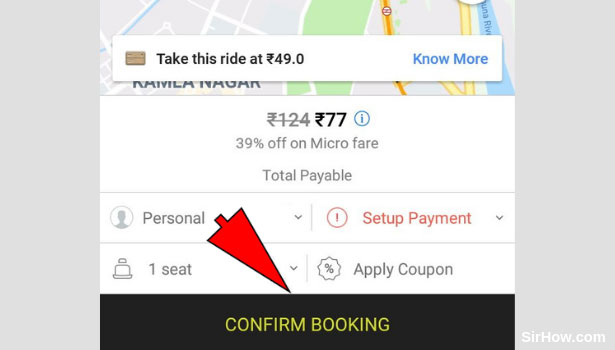
11. Tap on the Cancel Ride option: As a result of confirming your booking, you will be shown the section as shown in the picture below. This section includes the details of your cab, the name of the driver, as well as various other options with regards to the ride. The options are located at the bottom of the pop up as shown by the arrow mark. Tap on the Cancel Ride option. 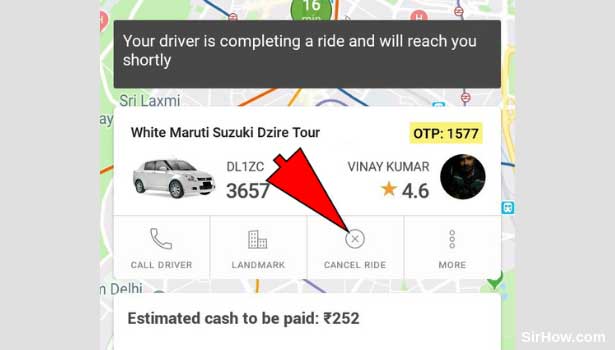
12. Select a reason for cancellation: After you tap on the cancel ride option, you will be shown this popup list. The list will contain different reasons for why you want to cancel your ride. Choose any reason from the list if it satisfies you. Tap on the "My reason is not listed" option otherwise. 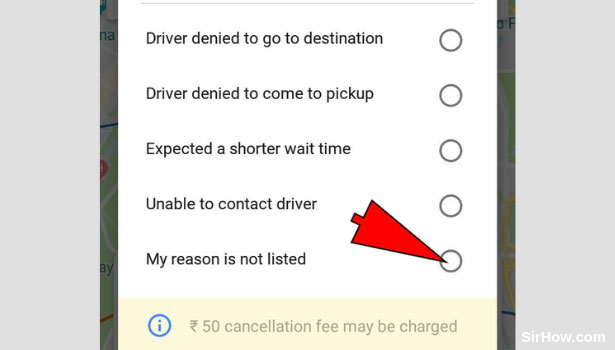
13. Select the Cancel option: After you have selected the reason for cancellation, you can then go ahead with canceling the ride. Tap on the cancel option shown by the arrow mark below to cancel the ride. Consequently, the ride you booked will be canceled for the reason you selected. 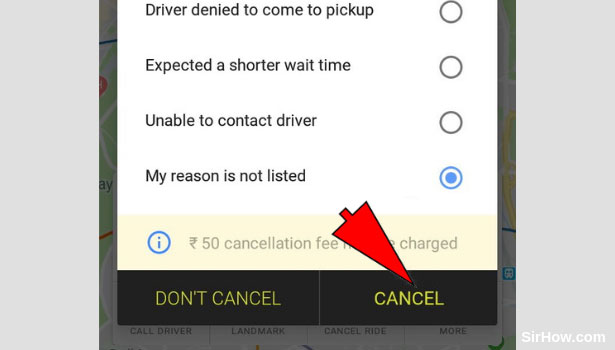
14. Hit the OK option: As a result of canceling your ride, you will be shown the following pop up message by the application. These messages confirm the cancellation of the ride. Tap on the OK option as shown by the arrow mark to continue using the app. 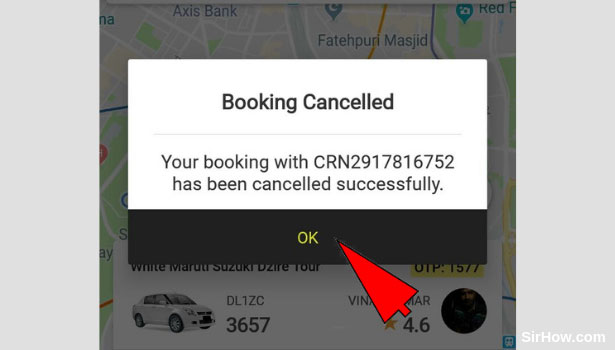
Therefore, in this way, any user can cancel an already booked Ola cab by following the steps mentioned above. The procedure is very easy. The option to cancel the ride will appear in the pop up once you book the cab. This service is useful when there are erroneous bookings or any other cancellations.