How to Book Ola Prime
Ola cab booking service aims at providing it's users, every kind of ride they need. Because of this, Ola now gives it's users the option to book Ola prime. Ola Prime is the service through which you can book premium cabs as your rides. The higher end cars such as Toyota, Suzuki, etc come under the prime section.
In the prime section, you can further book different cabs such as Prime SUV, Prime Exec etc. Therefore any user who wishes to travel in style can book an Ola prime cab. The steps to do the same are explained here.
Steps to book Ola Prime
1. Launch the Ola app: The first step to book an Ola prime is to launch the app. Launching an app means to open the application from the phone's application drawer. Locate the Ola application from your phone's app drawer as shown by the arrow mark. Tap on it once to open the application. 
2. Give location access: As a result of opening the Ola application, you will get the pop-up message shown below. This message is a confirmation message asking to use the device's location. Ola application needs access to your phone's location to work. Therefore, tap on the OK option shown by the arrow mark, to give access to device's location. 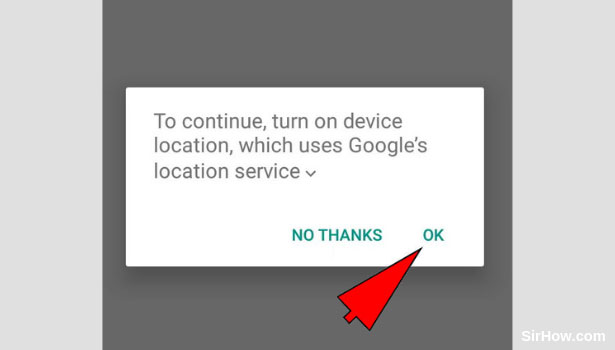
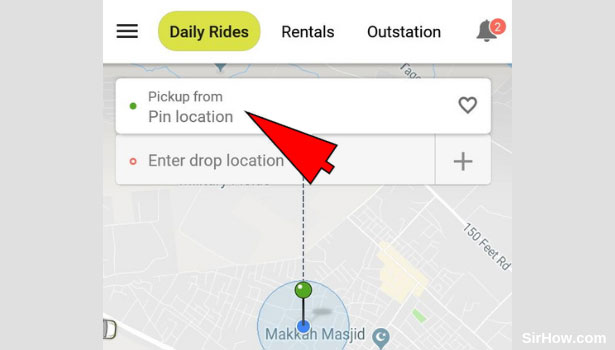
3. Tap on the Pickup location option: Once you give the app access to your device's location, it will open up as shown below. You can first go ahead with entering the Pickup location. Pick up location represents the address from which you want to be picked up. Tap on the Pickup location option as shown by the arrow mark.
4. Enter the Pickup location: As a consequence of tapping on the pickup location option, you will be taken to the section of Ola shown below. This section includes a search bar wherein you can search for the address you want to be picked up from. Tap on the search bar as shown by the arrow mark and enter the address. Select the most appropriate location from the subsequent list that appears. 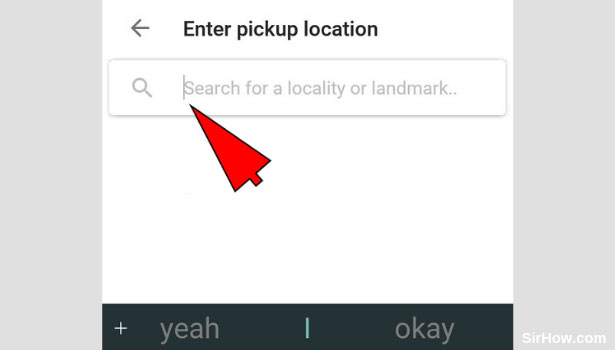
5. Tap on the drop location: Once you enter the pickup location, you will be redirected back to the home-screen. You can now enter the drop location which represents the destination you want to travel to. Tap on the drop location option as shown by the arrow mark in order to enter the drop location. 
6. Enter the Drop location address: As a result of tapping on the Drop location option, you will be taken to the section shown below. There will be a search bar in this section which will enable you to search for the address of the destination you want to travel to. Tap on the search bar as shown by the arrow mark and enter the address. Consequently, a list of result will appear from which you have to select the most appropriate result. 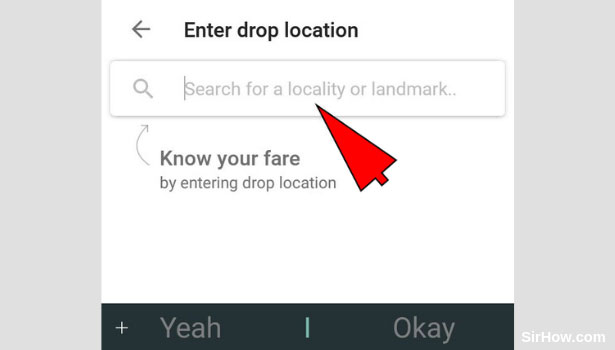
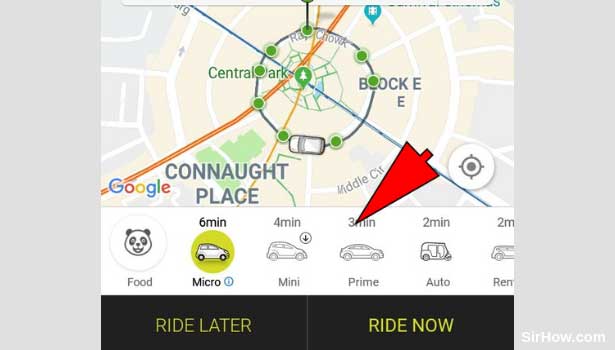
7. Choose type of cab as Prime: Once you enter the drop location, you will be redirected to the screen shown below. At the bottom of this screen, you will find a strip of options. These options represent the types of cabs. Swipe across and tap on the Prime option as shown by the arrow mark below.
8. Hit the Ride now button: As a result of you selecting Prime as your type of cab, it will be highlighted as show in the picture below. This is a sign that you can go ahead with the booking. Tap on the ride now option as shown by the arrow mark. This option signifies that you want to book the ride immediately rather than schedule the ride. 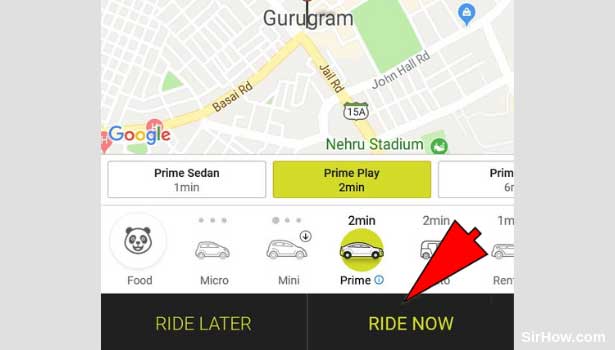
9. Tap on the Skip option: Once you hit the ride now option, you will get a confirmation message as shown below. This message asks you if the ride you are booking is for yourself or someone else. Tap on the skip option to skip this step, since we are only talking about booking the ride for yourself. 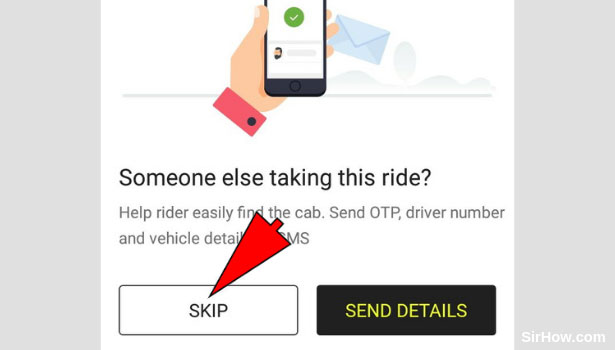
10. Confirm your booking: Once you follow all the steps explained above, you will be faced with this screen. This screen will include an overview of your ride, as well as details of the ride such as price, etc. After you are satisfied with the details of the ride, you can confirm the booking. Tap on the confirm booking option as shown by the arrow mark below, to confirm the booking of Ola prime. 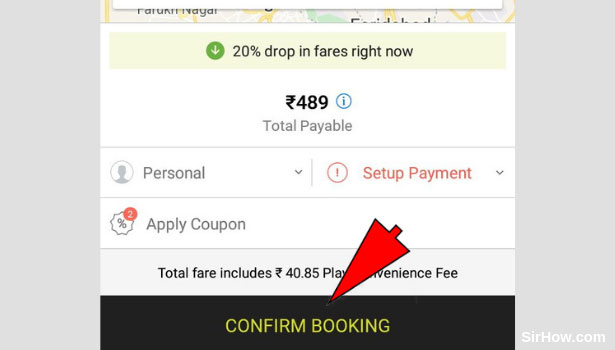
Therefore, the steps explained above show how any user can book an Ola prime. The steps to do this are similar to that of booking a regular cab. But instead of choosing any other cab, the user has to pick Prime as the type of cab. This service is useful when the user wants to travel in style and comfort.