How to Change Drop Location in Ola After Booking
Ola cab booking service offers it's users the possibility to change the drop location even after you book the cab. This means a user can change the destination which he or she has entered while booking the cab. The option to change drop location even after you have booked the cab is very useful to users. If there is a mistake in the booking or there is a desire to change the location after booking, this option can be used. Follow the steps explained below to change the drop location in Ola after booking.
How to Change Drop Location on OLA App
Steps to change drop location in Ola after booking (Booking the cab)
1. Launch Ola application: The first step is to launch the Ola application. To do this, go to your phone's app drawer and locate the Ola application Icon as shown in the picture below. When you find the icon, tap on it once to open the Ola app. 
2. Give the app location access: As a result of opening the app, you will get this confirmation message as shown in the picture below. This is a confirmation message asking you for permission to use the location of the device. You have to tap on the OK option to provide location access to the app. 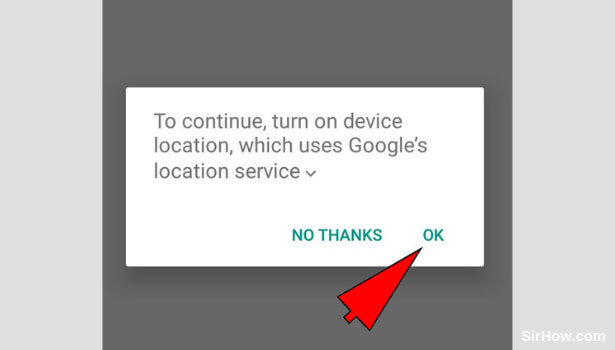
3. Tap on Pick Up option: After you give the app the location permission, the app will open as shown below. The first phase of booking the cab is to enter the pickup location. The arrow mark indicates the space provided to enter the pickup location. Tap on this option once. 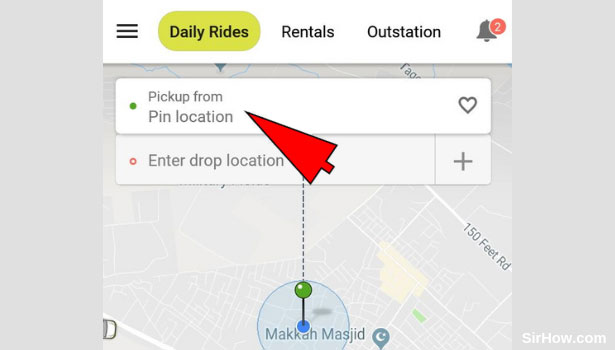
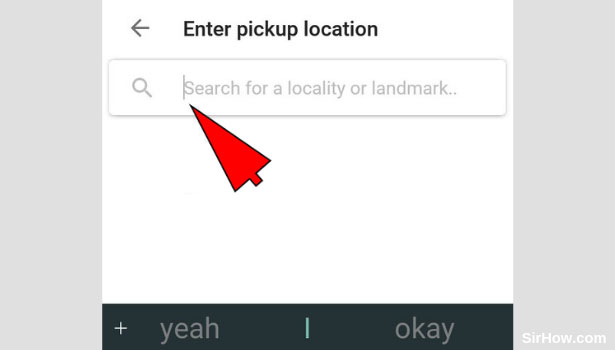
4. Enter pick up location: As a result of tapping on the pickup location option you will be redirected to the following screen wherein you can enter the address of your location. Type in the address of your pick up location after which a drop-down list will appear. Select the most appropriate address from the drop-down list.
5. Tap on Drop location option: Once you enter the pickup location, you will be redirected back to the previous screen. You can now enter the drop point. To Enter the drop location, you have to first tap on the drop location option as indicated by the arrow mark below. 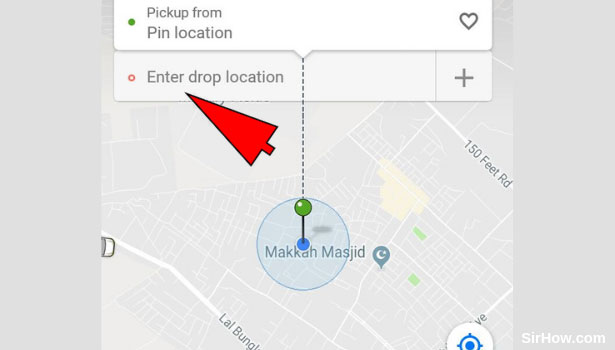
6. Type in the Drop location: As a result of tapping on the drop location option, you will be redirected to the following screen. Here you have to type in the drop location where you want to go. After you type in the address, a drop-down list will appear. Select the most appropriate location from the list. 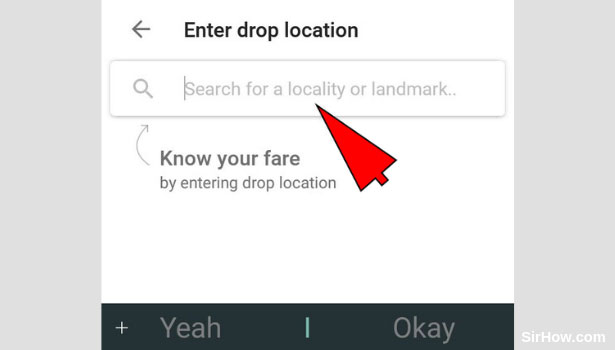
7. Select type of ride and tap on "Ride Now": As a result of entering the pickup and drop locations, you will get the following screen which contains an overview of your ride. You have to then select the type of cab you want from the list that appears below. After select the cab, tap on the Ride now option since we are concerned with immediate booking. 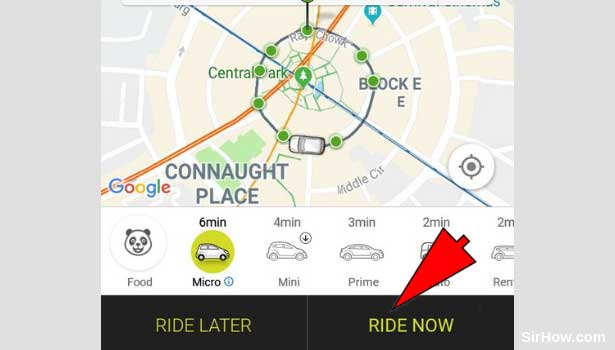
8. Skip the next screen: Because you selected the option to ride now, you will get the screen as shown below. This screen includes a confirmation asking if the ride you are booking is for yourself or someone else. Since we are talking specifically about booking for oneself, tap on the skip option. 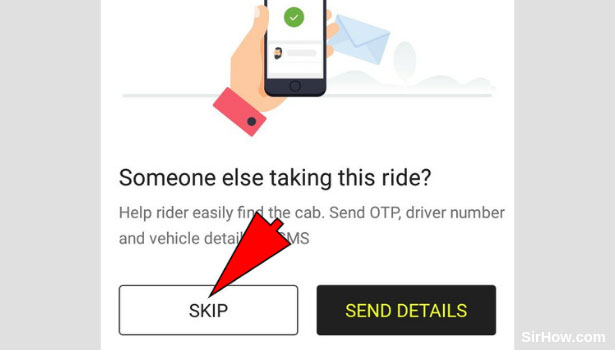
9. Select confirm booking option: Once you follow all the steps explained above, you will get the following screen. After you set up the payment method, you can confirm the booking of the cab. Tap on the confirm booking option as shown in the picture below. 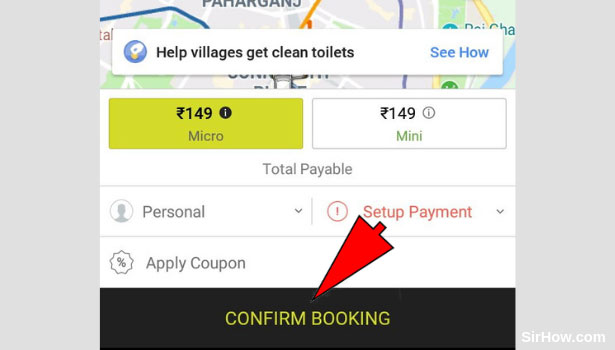
10. Ensure the booking of the ride: As a result of tapping on the Confirm booking option, you have to ensure that your ride is booked. You will be shown the following screen where it will include the details of the car you are assigned. 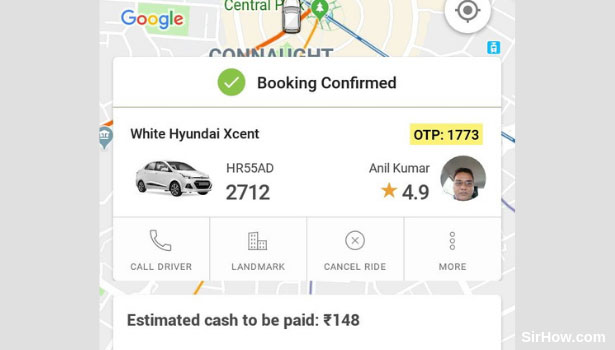
Steps to change Drop location in Ola after booking (Changing the drop location)
11. Tap on the Back arrow : After you have booked your ride, you will be shown the following screen in which the live location of your ride will be shown. Tap on the back arrow at the top left corner of the screen as shown in the picture below. This will take you back to the home screen of Ola. 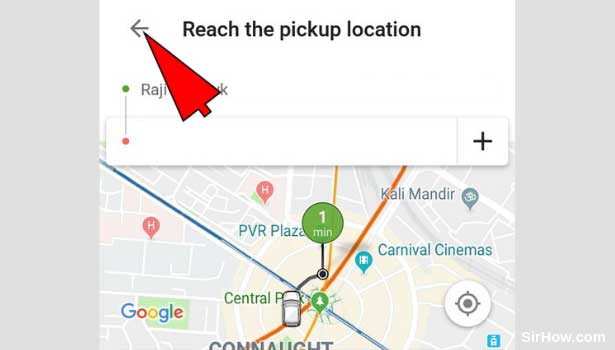
12. Go to the menu by tapping the three lines : When you go back to the home screen of Ola, you will get the following options. In the top left corner of the screen, you will see a three line icon as indicated by the arrow mark. This icon represents the menu. Tap on this icon once to access the menu. 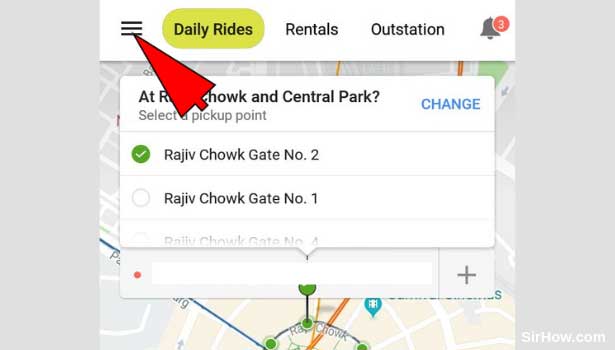
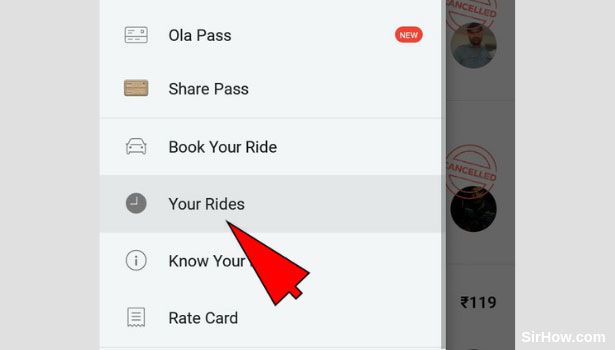
13. Select Your Rides: As a result of tapping on the menu, you will get a drop-down list as shown in the picture below. From this drop-down list, locate the option of "Your rides" and tap on it once to open the rides you have booked.
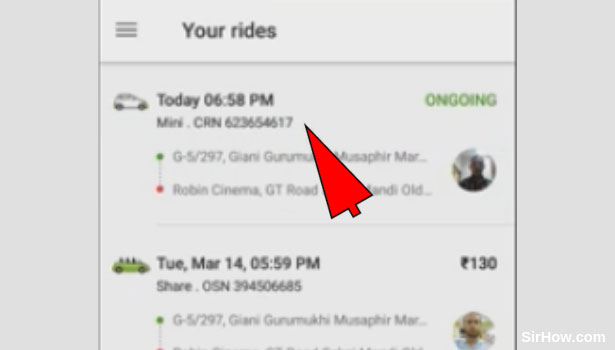
14. Open the ride you just booked: Tapping on the Your rides option will give you the following screen which includes details of all the previous as well as currents rides booked. To open the most recent ride and change the drop location in Ola after booking, Tap on the ride once. It should be located at the top of the list.
15. Select the Area of your new destination: When you open the ride you just booked, it will give you the following screen which includes a map and overview of your ride. The red color pin will be in the area of your previous drop location. Tap on the area of your new drop location within the map. 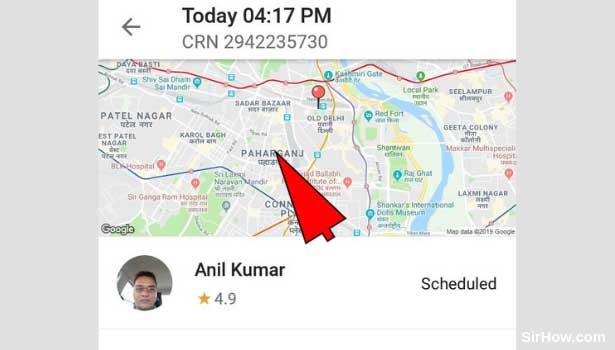
16. Tap on the old drop location: After you select the area of your drop location, you will be shown the following screen. You will notice the old address of the previous drop location in this screen. TO change the drop location in Ola after booking, tap on the previous address to edit it. 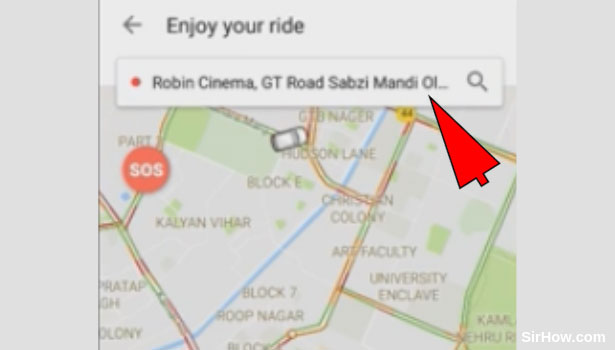
17. Enter the new drop location: After you tap on the previous drop location, you will be redirected to the following screen. Enter the address of your new drop location in the space provided. Select the most appropriate address from the list that appears below. 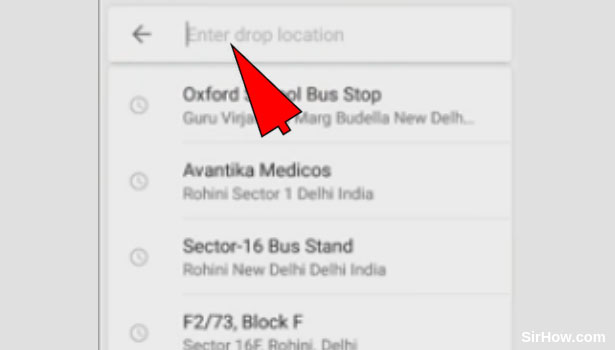
Therefore in this way, any user can change the drop location in Ola even after booking the cab. This is helpful when there is an erroneous booking. Thus, any user who wants to change the drop location in Ola after booking, can follow the steps explained above.