- Amazon Prime
- delete amazon video profile
- delete amazon video watch history
- prime 4k videos
- upgrade amazon prime
- prime live tv
- clear watch next
- stop auto renewal
- a prime showtime
- block prime shows
- prime customer service
- sign out amazon prime
- set parental control
- rate movies a prime
- pay amazon prime
- subtitles on a prime
- add family member
- search prime movies
- share amazon prime
- delete amazon prime watch list
- delete watch history
- watch a prime offline
- create watch list
- renew amazon prime
- watch amazon prime
- download a prime video
- amazon prime refund
- a prime for tv
- delete amazon prime
- cancel a prime trial
- cancel prime membership
- a prime student membership
- a prime free trial
- create a prime account
- download a prime app
How to Upgrade to Amazon Prime
Amazon provides an all-exclusive experience including various benefits by upgrading to Amazon Prime on Android. These benefits include free delivery and subscription to Amazon Music and Amazon Prime Videos and much more. If you are an ordinary Customer of Amazon and want all these benefits, then you will just have to upgrade to Amazon Prime on Android. To do that just follow this article. In this article, we will provide you with a tutorial with very easy steps on how to upgrade to Amazon Prime on Android.
The steps to upgrade to Amazon Prime on Android are as follows:
Upgrade to Amazon Prime on Android: 10 Simple Steps
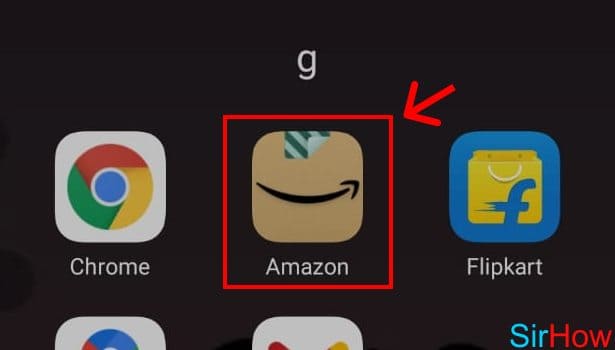
Step 1: Open Amazon
Opening the Amazon app from your App drawer from a well-connected smartphone would be the first step. Well it’s obvious, right?
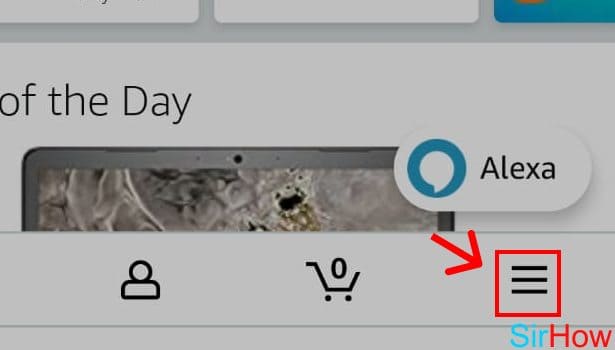
Step 2: Tap on 3 dot button
After you open the Amazon App from your smartphone, you will see that Amazon’s homepage is open on your screen, and on that screen, you will see a three-dot button below at the bottom right-hand corner of the screen that you will have to tap.
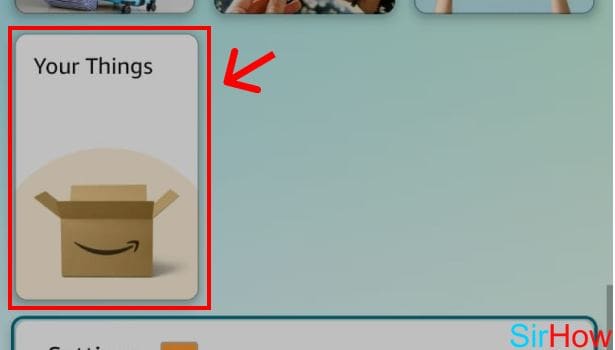
Step 3: Tap on Your things
When you click on the 3 dot button, you will be led to a page, with multiple icons on that page, and after you scroll below in that page, you will see an icon called “Your Things” on the screen that you will have to click and there will be a drop-down menu with one of the options called “Your Account” that you must press in order to go ahead with the process to upgrade.
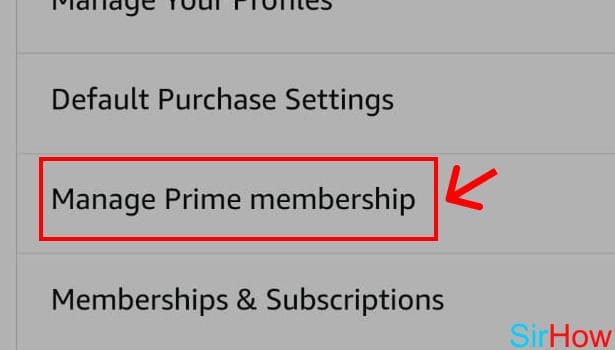
Step 4: Tap on "Manage Prime membership"
When you complete the above steps, a new page with multiple sections will appear on your screen, and on the section of “Account Settings”, you will find an option called “Manage Prime Membership” that you will have to tap.
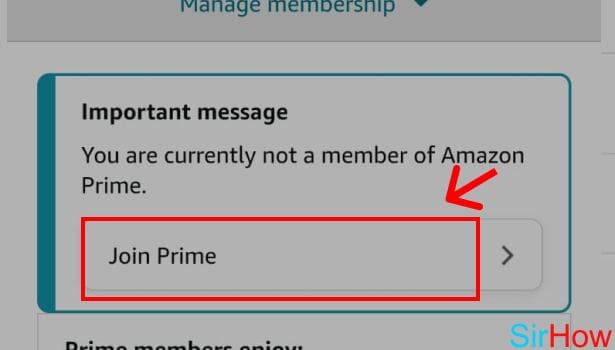
Step 5: Tap on join prime
A new page will appear on your screen, where you will find an option called “Join Prime” and that is the option that one should click to upgrade to Amazon Prime on Android.
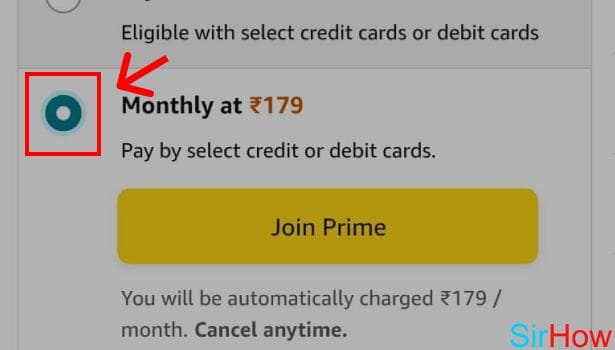
Step 6: Check the box
The next page will appear and there you can select the membership plans available. Check on the box of your desired plan.
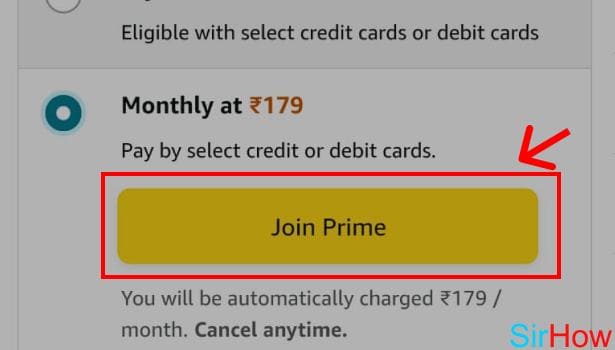
Step 7:Tap on Join prime
After selecting the plan, tap on “Join Prime” to move ahead.
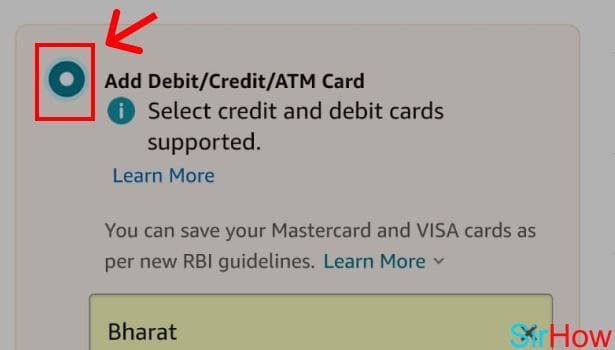
Step 8: Check the box
You will be prompted to Pay for the membership and so you will have to check the box to Add a Debit/Credit/ATM Card.
Step 9: Enter details
You will be prompted to enter your details so that you can pay for this upgrade. So go ahead and fill in your details.
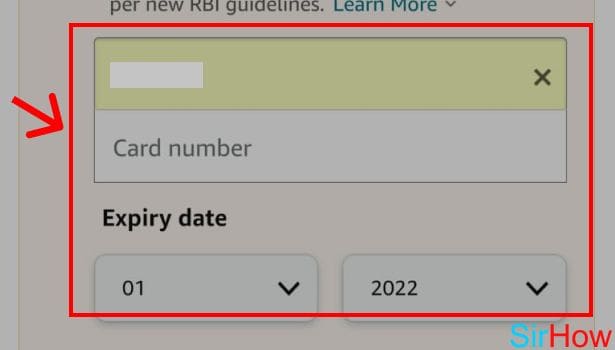
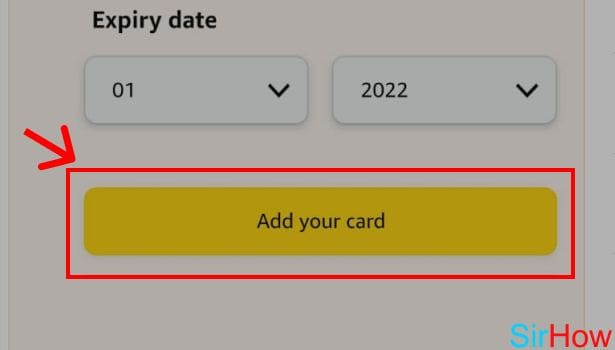
Step 10:Tap on "Add your card" and pay
After you fill in the details, click on the “Add to Card” so that you can complete the process by Paying for the Amazon Prime Upgrade on Android.
And thus, you are now upgraded to Amazon Prime on Android. So now you just have to sit back and enjoy the Benefits. And if you like this tutorial and want to learn some more tricks such as how to delete Amazon Card Details, just click on the link.
Upgrade to Amazon Prime on Android
You can upgrade to Prime on Android devices. Prime service is available on Amazon app. Just see quick steps:
- Open Amazon: Open Amazon app.
- Complete the ‘sign in’: Sign in with your Amazon account.
- Tap on three bars: Tap on three bars menu at the top left corner.
- Tap on prime: Tap on prime option.
- Tap on ‘watch prime video’: Choose the option ‘watch prime video'.
- Tap on stream in the video app: Tap on ‘stream in the Prime video app’ option. Choose student membership plan.
- Choose your subscription plan: Tap on your favorite subscription plan.
- Select the payment method: Choose the option regarding the payment such as debit card or credit card.
- Enter your card number: Now enter your credit or debit card number, you want to use for the payment method.
- Enter expires date: Enter the month and year of the credit or debit card’s expiration date.
- Enter CVV: Enter 3-digits CVV code in next. Your card details are now completed.
- Payment with card: A new tab will open. Now your bank will send you an OTP on your phone number. Type it in the browser. Your payment has done.
That’s how you can get Amazon prime student membership through your Android device.
Get Amazon prime student membership on iPhone
Amazon prime can get on your iPhone as well. Just see these steps to learn how you can upgrade to Prime.
- Open the app: Open Amazon prime app.
- Complete the ‘sign in’: Make sure you have Amazon account. Complete sign in with your Amazon account.
- Select the subscription plan: Select the subscription plan on Amazon Prime.
- Confirm your payment with touch ID: In iPhone, you can easily subscribe to Amazon prime with iTunes. Confirm it with touch ID and it will lead you to the payment process.
- Sign in to iTunes store: A new box will pop up. Enter your Apple ID password to start payment.
- Select the payment method: Choose the option regarding the payment such as debit card or credit card.
- Enter your card number: Now enter your credit or debit card number, you want to use for the payment method.
- Enter expires date: Enter the month and year of the credit or debit card’s expiration date.
- Enter CVV: Enter 3-digits CVV code in next.
- Enter the billing name: Now enter your name for billing.
- Enter billing address: Type your complete billing address next.
- Tap done: Tap done at the top right corner to confirm the process. Recheck all the details you have filled up before done it.
That’s how you can upgrade to Amazon prime.
Upgrade to Amazon prime on Desktop
You can upgrade to Amazon prime on desktop easily. Just see these steps to learn that.
- Open your browser: Open your preferred browser.
- Open Amazon: Go to ‘Amazon.com’ on your browser.
- Complete the sign in: Sign in with your Amazon account.
- Click on down arrow to accounts and lists: Click on down arrow on accounts and lists option at the top right corner.
- Click on ‘membership and subscriptions’: Click on ‘membership and subscriptions’ option.
- Click on your subscription plan: Choose your favorite subscription plan of Amazon Prime.
- Choose the payment method: Choose the option regarding the payment such as debit card or credit card.
- Enter your card number: Now enter your credit or debit card number, you want to use for the payment method.
- Enter expires date: Enter the month and year of the credit or debit card’s expiration date.
- Enter CVV: Enter 3-digits CVV code in next. Your card details are complete. Confirm it.
- Verify the card: Now your bank will send you an OTP on your phone number. Type it in the browser. Your payment is now complete.
That’s how you can upgrade to Amazon prime.
Related Article
- How to Delete Amazon Prime Watch List
- How to Check and Delete Amazon Prime Watch History
- How to Watch Amazon Prime Offline
- How to Create Watch List in Amazon Prime
- How to Renew Amazon Prime
- How to Watch Amazon Prime
- How to download Amazon Prime video
- How to Get Amazon Prime Refund after Cancellation
- How to Get Membership of Amazon Prime for TV
- How to Delete Amazon Prime
- More Articles...
