How to Share your Screen on Microsoft Teams
The procedure of screen sharing involves displaying your computer screen to everyone else participating in the video conference. You'll probably need to share your screen if you're giving a presentation in an online meeting so that the audience can see your slides. It is easy to Share your Screen on Microsoft Teams by joining the scheduled meeting and clicking on share option present in the additional features. Moreover, it is similar like when you mute notification while attending a meeting in Microsoft Teams.
Share your Screen on Microsoft Teams in 5 easy steps:
Step 1: Open the Microsoft Teams App: Firstly, open the Microsoft Teams application by locating it on your mobile.
- You should download the application if it is not present.
- You need a proper internet connection to run the Microsoft Teams application.
- See the red arrow in the given image indicating the Teams application.
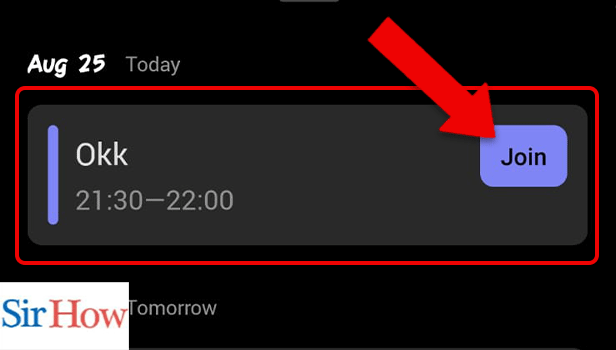
Step 2: Join the Meeting: Secondly, you have to go to Calendar section of Teams application. Then, click the scheduled date and join the meeting.
- After you tap on the date, the join option will appear.
- Click on it to join.
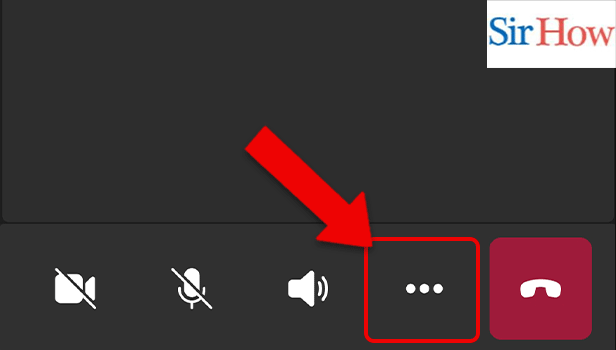
Step 3: Tap on 3 dots: You have to tap on three dots because it will take you to the share option.
- Three dots option is at the bottom of your screen.
- It is situated beside the sound option in the meeting.
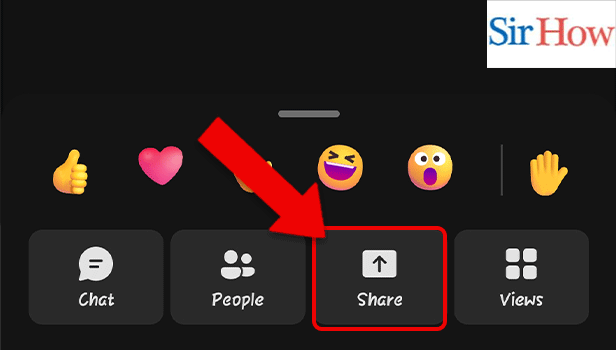
Step 4: Tap on Share: As a next step, you have to choose share option. However, the share option is on third position.
- Follow the red arrow in the given image.
- Make sure you click on it.
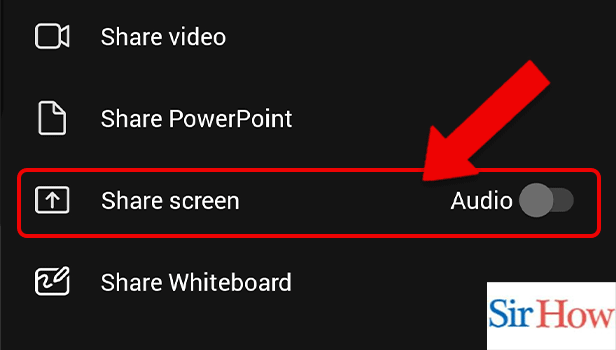
Step 5: Tap on Share screen: Moreover, after clicking on share option a new interface will come out where you can see the option of share screen.
- It is on the third line.
- Follow the red arrow in the given image below.
- Finally you can share your screen.
If you follow these five steps, you can easily Share your Screen on Microsoft Teams. The steps are beautifully elaborated. The viewers can read this and understand it very well. Thereafter, let's took a look at some related FAQs.
FAQs
On Microsoft Teams, is screen sharing possible?
Users can exhibit a screen or app during a conference or chat by using desktop sharing. In Microsoft Teams, administrators can set up screen sharing so that users can share an entire screen, an app, or a file. Additionally, change screen sharing settings in Microsoft Teams to control it on your own.
Why can't I share my screen?
This typically occurs when you attempt to share a screen with a linked user. Start a voice or video call with the person before sharing your screen to prevent the option from becoming greyed out. Moreover, lock the meeting in Microsoft Teams if you want to stop the members from joining the scheduled meeting.
How can I connect a monitor without a cable to my laptop?
Wireless video HDMI employs a transmitter and a receiver to wirelessly link your devices as opposed to using an HDMI cable to connect your laptop to a monitor.
How can I use the two monitors and my laptop screen?
You just need one HDMI cable if both your laptop or computer and your monitor have one or more HDMI connections. Use an HDMI splitter if your device only has one HDMI port and you wish to connect two monitors.
How can I wirelessly share my screen with my team?
Selecting the windows to share requires clicking the share tray button. It is necessary for the user on the other side to accept the session.
Thus, reading the given FAQs and the steps carefully you will get to know how to share your screen on Microsoft Teams.