How to Create Grids in Canva
You must have seen image grids many times on many Instagram pages and even on websites. By definition, a grid is a network of lines that cross each other to form a series of squares or rectangles. Grids are very popular these days as they look very attractive and catchy. To create grids in Canva in just 10 very simple steps. Along with this, you can also add grid spacing in canva to make the design better. Let us start learning how to create perfect grids in the canva app with the help of pictures at each step!
How to make a Grid Mockup in Canva
To Create Grids in Canva in 10 Steps
Step-1 Open the Canva app: The first and foremost step is to open the Canva app on whichever device you are using whether your mobile phone or PC.
If you do not have the Canva app, DOWNLOAD it from here.
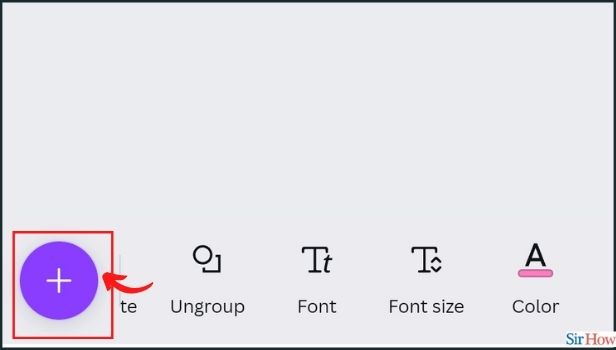
Step-2 At the bottom corner of the editor, tap the '+' button: The '+' is purple and is present at the leftmost corner at the bottom of the screen. You just have to click on that.
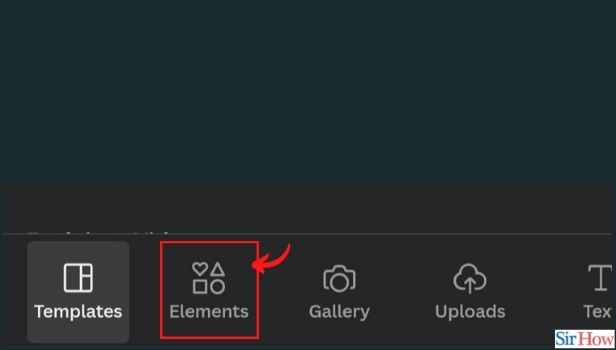
Step-3 Tap the Elements tab: The Elements tab is available besides the templates tab in the '+' menu. It is very easy to locate.
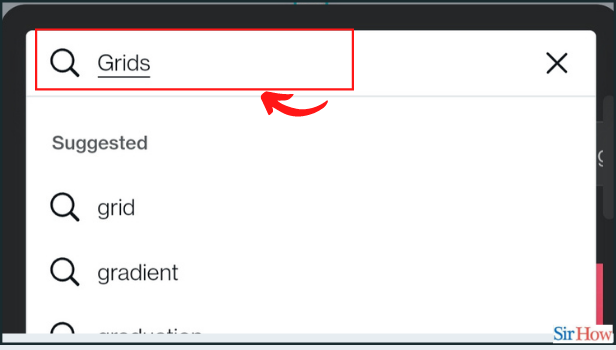
Step-4 Use the search bar and enter 'grid': To save your time, just click on the search bar at the top of the screen and write 'grid' and search.
Step-5 The grid options will load: A wide collection of different kinds and sizes of grids will be loaded in front of you.
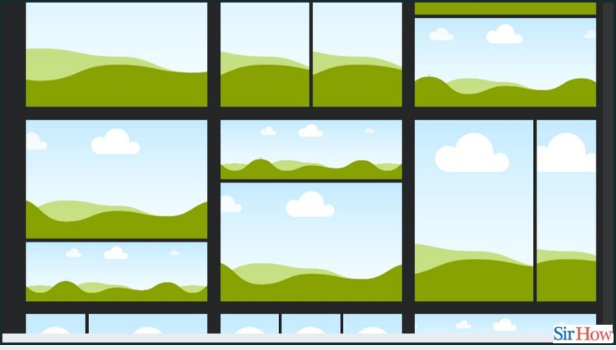
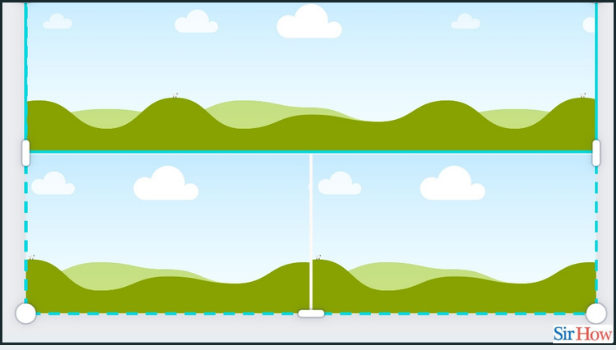
Step-6 Tap on a grid you want to use to apply it on the page: You can easily check how your image would look in the grid by clicking on that particular grid.
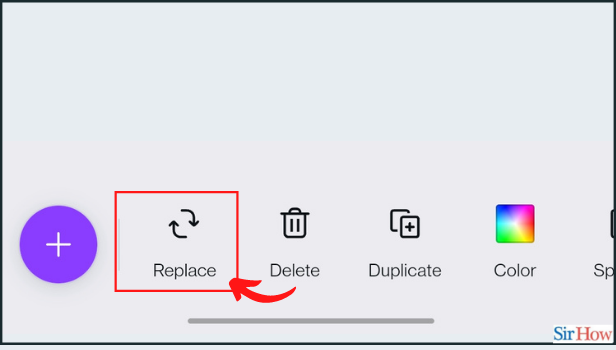
Step-7 Tap Replace: The next step requires you to tap on replacing from the toolbar as shown below in the picture.
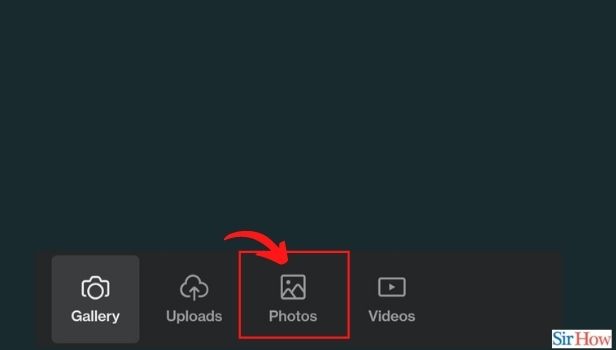
Step-8 Tap Photos or Videos from the options below: You can use the category buttons below the search bar to explore the library like this.
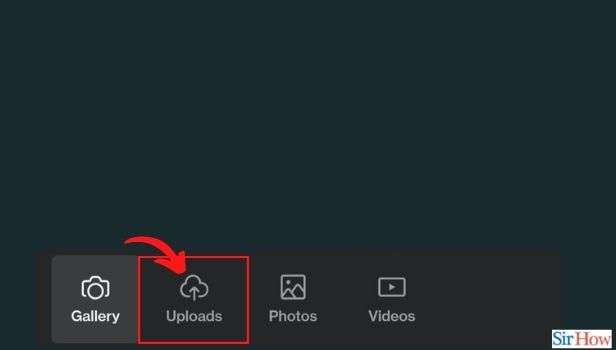
Step-9 Click on 'Uploads': If you want to use your media, tap Camera Roll or Uploads instead. Upload your photos here if you haven’t yet. You may first have to grant Canva permission to access your gallery because of privacy issues.
Step-10 Tap on a photo or video: And add it to the grid. Again choose another photo to add to another frame of the grid.
To conclude, it was very easy to make a grid in Canva with the help of the above-mentioned 10 steps. You can apply grids to your photos to make them look more beautiful and unique.
What Is a Grid?
A grid is a network of lines that cross each other to form a series of squares or rectangles. Also, it can be called a College sometimes.
What should be the size of a grid?
As of now, there is no particular size as such. The size of a grid depends on the size of the photos present in that grid.
How many photos can be added to a grid?
You can add as many photos as you want to a grid but make sure that it does not look very crowded. Also, you can share your design in canva with the ones you want. The purpose of grids is to make your work or project look beautiful.