How to apply for passport online in India
There were days when applying for the passport was quite lengthy and slow process. But nowadays with the help of internet the process has become very easy and fast. You can apply for the passport and within few days, you will receive it.
In India, you can apply from the official site of the Ministry of External Affairs, Government of India.
Under the Passports Act 1967, the Indian Government can issue different types of travel documents and passports such as Ordinary Passport, Official Passport and Diplomatic Passport, Emergency Certificates and Certificates for the identity for the purpose.
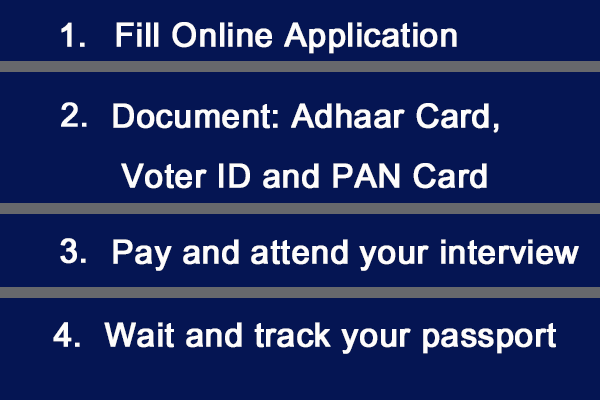
Here is the step by step guidance how to apply for online passport in India.
Documents required
For passport, you will need the following documents-
- Birth certificate
- Id with photograph
- Residence proof
- Proof of nationality.
how to apply for passport online- Video
Step 1: Registration
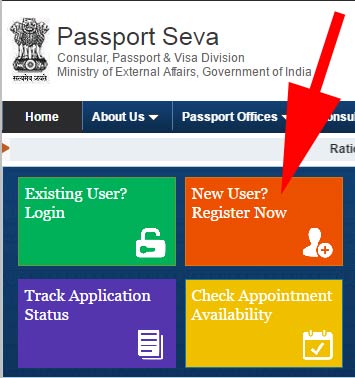
Go to the home page of the Passport Seva Online Portal. For registration, you will see ‘New user? Register now’ option in the middle of the page. Click on that option. A page will open named ‘User Registration’.
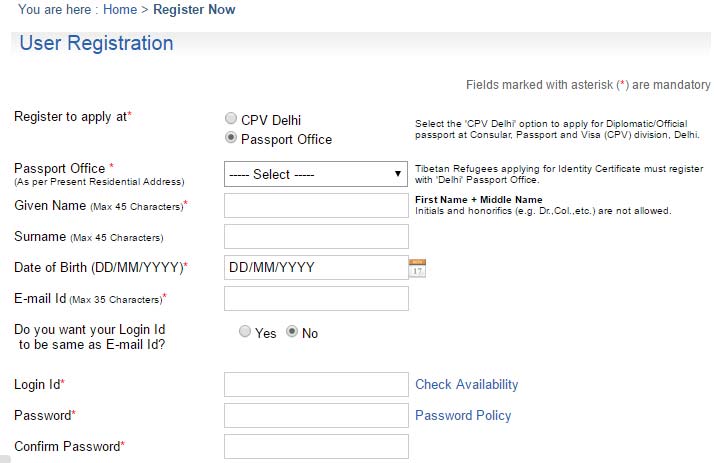
As you can see in the below image there are different options.
- In the first option select the registration application for passport office.
- Then select the passport office city near from you.
- The next options are for your basic info like name, surname, and date of birth etc
- Click the register button.
- A link will be sent you at your e-mail id. You have to open the link for the activation of your account.
- After the activation, you can log in with your registered id and password.
Step 2: Form Filling
Once the registration is done log in with your username and password. A page will be opened.
Then go to the link “Apply for the fresh passport/ re-issue of passport”. On that page, there will be given to alternates- 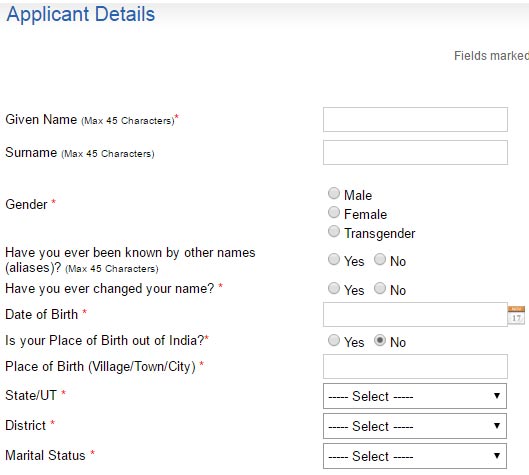
- If you don’t have any broadband connection means internet, then go for the first alternate. In this, you have to print out the soft copy of the form, fill it offline and then upload the filled form.
- If you have a broadband connection go for the second alternate. A link will be given” Click here if you want to fill the form online”. Select that link.
Step 3: Passport type
When you click on the online form filling process the passport type page will be opened. The options on that page are-
- Applying for fresh passport or re-issuance of passport.
- Type of application normal or tatkal.
- Type of passport booklet- 36 pages or 60 pages.
- This option is for minors if the applicant is a minor.
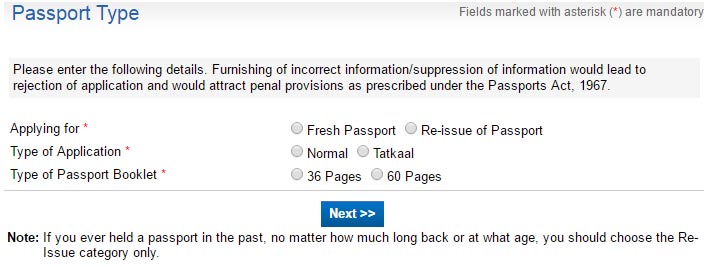 Fill the details according to you then click on “next” button.
Step 4: Applicant Details
After clicking on the next button “Applicant Details” page will be opened. The details hold the following things-
- Name and Surname
- Date of birth and place of birth
- State (if born in India), district and country (if born in Abroad).
- Gender
- Marital Status
- Citizenship
- PAN no. and voter id
- Employment status
- If parents/spouse is in government service (in case of minor)
- Educational qualifications
- Applicable for NonECR category ( ECR-Emigration Check Required)
- Visible distinguishing marks
- Aadhar no.
After filling these details click on the next button. You can also save the details by clicking on option “Save my details” option.
Step 5: Family Details
After the applicant details, “Family Details” page opens. On this page, the following details are required-
- Father’s name
- Surname
- Mother’s name
- Surname
- Guardian name and surname (if applicable).
Then click on the next button.
Step 6: Present Address
After the family details, present address page opens. At this page following details are required to be filled-
- Is present address is out of India? You can choose yes or no.
- Residing period
- House no. and street name
- Village/town/city
- State
- District
- Police station
- Pin code
- Mobile no.
- Telephone and email id are not mandatory.
- Is your permanent address is as same to your present address? You can answer it as yes or no.
After filling this page go to the “next” click.
Step 7: Emergency Contact
After present address details comes the emergency page. On this page, you have to fill that person’s details to whom you want to call in case of an emergency like an accident. This page contains-
- Name and Address
- Mobile no.
- Telephone no and E-mail id (not mandatory).
Then click on the “next”.
Step 8: References
After emergency contact, the references page opens in which you have to fill two references for verification. For two references you need to fill-
- Name and mobile no.
- Address
Then click on the “next”
Step 9: Previous Passport
After references page, the next page opens as the previous passport. In which it is asked that have you ever held/hold any other passport?
Or have you ever applied for the passport, but not issued? You can simply choose the option in yes or no. Then click on the “next”.
Step 10: Other details
In the other details, an applicant has to fill the yes or no options for the following things (in case of yes provide the details)-
- Is any criminal proceeding pending?
- Has the criminal convicted by the court?
- If the applicant is denied to passport?
- If the applicant’s passport is impounded/revoked?
- If the applicant is applied or been granted the political asylum?
- If the applicant is returned to India on an emergency certificate?
After completing it click on the “next” button.
Step 11: Verification
After the details filling process, the next step is to verify the details. If you want to make any change you can change it and then click on the “next”.
Step 12: Submission of Form
After the verification fill the place name and date. Then select the little box “I Agree”. You can also enrol your mobile no.
for Passport Seva SMS Services at the charges of 30 rupees which will be payable at Passport Seva Kendra at the time of application processing appointment. Then click on the button “Submit” to submit the form.
Step 13: Pay and Schedule
After self-declaration, your application will be successfully submitted. Then comes to pay the application fee and schedule the appointment. Choose the option “ Pay and Schedule” after the form submission. There will be two modes-
- Online Payment
- Challan Payment
You can choose either of them. Then click on the “next”. Then the appointment availability comes. The list of appointment centres will be given for different dates.
Choose your Passport Seva Kendre location and then click to “next”. Then the option “Pay and book appointment” will appear.
First, check the details and then click on the option. You can pay through internet banking or debit/credit card. After the successful payment, your form process is completed.
Note- Be on time at the venue of appointment with the original documents. Incomplete documents will not be entertained.